
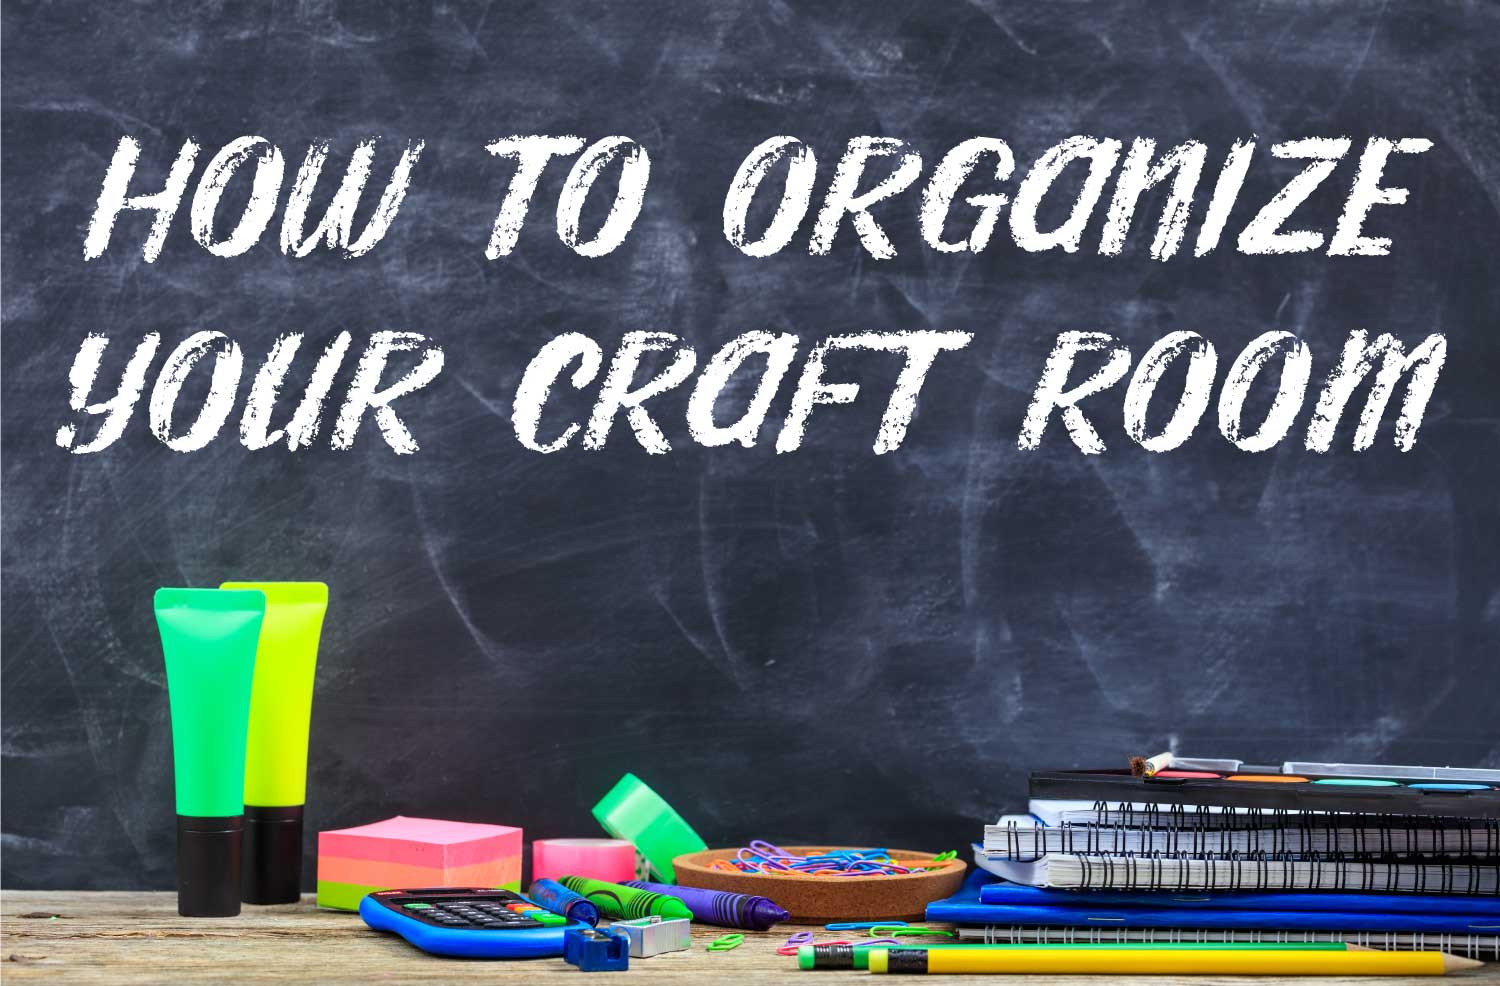
How to Organize Your Craft Room (Tips & Tricks)
Publish Date:
November 6, 2020
Author:
By Crafting Spree
So you’re looking to organize your craft room? We’ve all been there; you have your space, you’ve got your supplies, but now what? Get organized with me by following this 6-step guide on how to organize your craft room:
1. Throw away all the trash
This might seem like a no-brainer but if you’re like me, you’d be so surprised how easy it is for trash to pile up. I’m not talking only trash trash like food wrappers and soda cans, but what are the things you needed at one point that are useless now? For example the collection of sticky notes on your desk full of quick notes you needed to write down and don’t need anymore, or the pens and markers taking up space in your drawers that are our of ink, or the journals and notebooks that are full of info that’s no longer relevant? Go through your space and throw out all the trash, even if it means just emptying your craft room trash can- get. It. OUT!
2. Get rid of the easy stuff
Now that the trash is gone, we’re moving on to all the other thing in our craft rooms we don’t need that isn’t garbage. Now, I KNOW you know what I’m talking about, you’re not fooling anyone when you say there’s truly NOTHING in your craft room you don’t need, use, or love.
Go through all your drawers, desk, surfaces, closet, everywhere and get rid of all the stuff that's easy to look at and know you don't need. Go through and bag up all these items that you wouldn’t buy if you saw in it a store today and get them out of there! You could either sell your old items you no longer need, or you can donate them to your local thrift store and make another crafter’s day when they see it there for less than it’d cost them to buy new.
If you're someone who struggles getting rid of things and you want some more in-depth help getting some step-by-step advise on how to determine what you need and what you don't, here are two books with life-changing decluttering and organizational advise that have helped me as well as some of my friends and family get organized:
Decluttering at the Speed of Life

The Life-Changing Magic of Tidying Up

3. Put like-items together
Okay, so now we're finally down to the stuff that we either: need, use, or love. Right? If not, repeat steps 1 and 2! Now, where do we go from here? It can feel extremely overwhelming at this point because getting rid of things tends to be a bit easier because once we get rid of it, it’s gone- there’s no more dealing with it.
Now we’re going to organize everything that’s left in a way that makes sense to you by putting all like-items together. So, everything that is the same or similar, group it all together. The awesome part about doing this is that it’s completely up to you how you want to group your items. Some ways you can group things are:
•By function (everything that cuts, everything that glues, everything that’s electronic, etc.)
•By hobby (all your sewing stuff, all your Cricut stuff, all your drawing or painting supplies)
•By frequency of use (what you use daily, weekly, monthly, rarely)
NOTE: you can always mix and match your organizing methods for example maybe your Cricut accessories you use daily is a separate pile from your Cricut items you only use once in a while, and you have some sewing supplies but you don’t sew often so all those items are in one pile of its own. Do whatever makes the most sense to you.
4. Get rid of the easy stuff part 2
So now that our items are sorted into different groups/categories, it’s time for round 2 of getting rid of the easy stuff. As my mom puts it: we all have layers of stuff. When we got rid of the easy stuff the first time, you got rid of the first layer or stuff and now that we have all like-items together it’s time to get rid of the next layer.
It’s easy to overlook things you don’t need when they’re all over the place, but once your like-items are together it’s really easy to see how much you have of similar items. For example, if you had a pair of scissors in every drawer and didn’t realize it the first time you got rid of things, and now you’re staring at a pile of 8 pairs of scissors- you’re probably ready to get rid of some. When this happens to me, I keep a few of my favorites and Goodwill the rest. Do you need 5 pairs of the exact same knitting needles? If so, keep them, if you didn’t even know you had them, maybe keep one or 2 pairs and see if you use them in the next year and if you don’t, then get rid of the remaining 2 pairs.
Take a good, honest look at your piles, and see how many duplicates you have and how many similar items you have and see if there’s anything you don’t need. The goal here is to get rid of that second layer of stuff to free up more space for our new, organized, clutter-free creative space!
5. Contain your items
Now that our items are sorted into different groups/categories, now it’s time to contain them. This is where you will need to determine which storage containers are right for you.
•Are you looking for low-cost storage using containers you already have? Then use what you’ve got and maybe turn some old cans and recyclables into cute storage solutions- I have it on good authority that large cashew/Peanut butter jars with lids can come in quite handy!
•Are you looking for mindlessly easy organization where you can always see quickly where everything is? Maybe consider using only clear containers so there’s no question what’s in them and where things go.
•Are you short on space and need to get creative? Maybe consider hanging storage for a closet, or under-the-bed storage for the items you rarely use so they can be stowed away under your bed until you need them. Consider how you can take advantage of wall space for organization like an over-the-door shoe organizer, wall-mounted shelving, wall hooks for hanging supplies, etc.
For me, my absolute favorite storage solution is cube storage shelves with durable colored fabric bins with labels on the front of them. I love my stuff hidden (I never use clear containers for this reason) but still easy to remember what goes where (hence the labels) BUT I don’t have the funds at the moment to buy all the cube shelves and bins that I want so what do I do in the meantime? I have a bookshelf with Dollar Tree fabric bins on it! You can typically get bookshelves for cheap or free on Craigslist or Facebook, and you can’t really beat the Dollar Tree price for fabric bins but do note that they’re not as sturdy and you can easy wreck them by overfilling them.
6. Place your containers
Now, for the sixth, and final step: placement. You have your items organizes, sorted, and contained but where are they going to go? If you have a bookshelf of supplies, is it full of things you use daily that should be close to your desk for quick and easy access? Or is it full or stuff you might only use weekly in which case it could go across the room. Could it possibly go in a closet, or a different room entirely to free up more space where you work?
Remember that the goal here is to make your space as functional as possible for you. What works for other people might not work for you so do what you think will be the best for you and remember you can always change things around and reorganize later. You might see what works now and move things around to better places later if you find you’re not loving your current layout as much as you thought you would.
So there you have it! This is my 6-step guide on how to organize your craft room. I hope there were some things in here that were useful to you. Check out more Cricut crafting tips and tricks and as always,
Happy Crafting!
Check out the Crafting Spree blog for more DIY, Crafting & Cricut Resources:
Discover more than 15 Cricut crafting blanks under $15 on Amazon! Find affordable, high-quality blanks for your next DIY project, perfect for vinyl, HTV, and more.
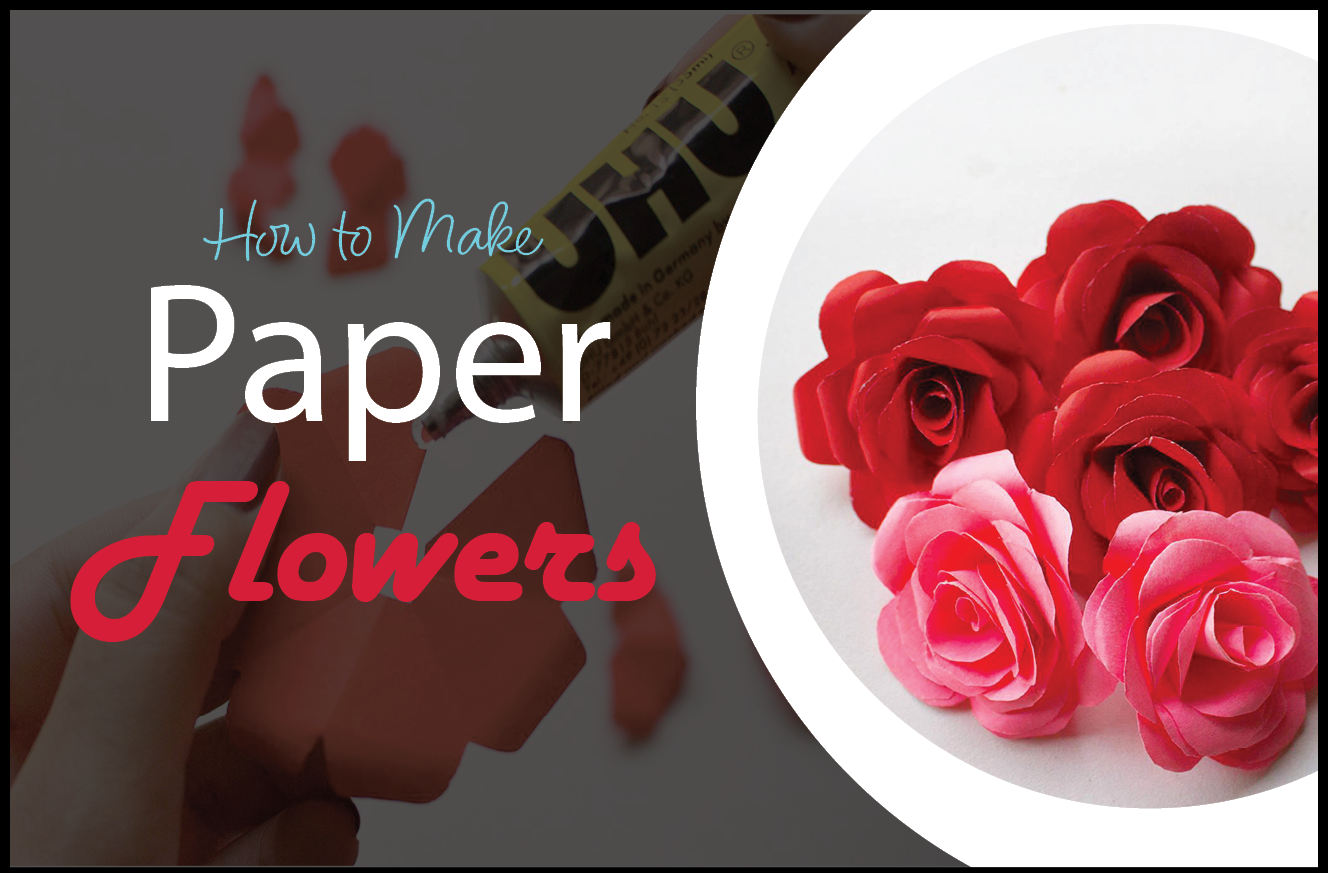
Learn the art of crafting stunning DIY paper rose flowers with our comprehensive tutorial. Discover step-by-step instructions and unleash your creativity to create beautiful floral masterpieces.
Share this article with your friends & family.