
How to Craft Your Own DIY Paper Roses (Step-by-Step Tutorial)
Publish Date:
June 3, 2023
Author:
Rachel Tveit
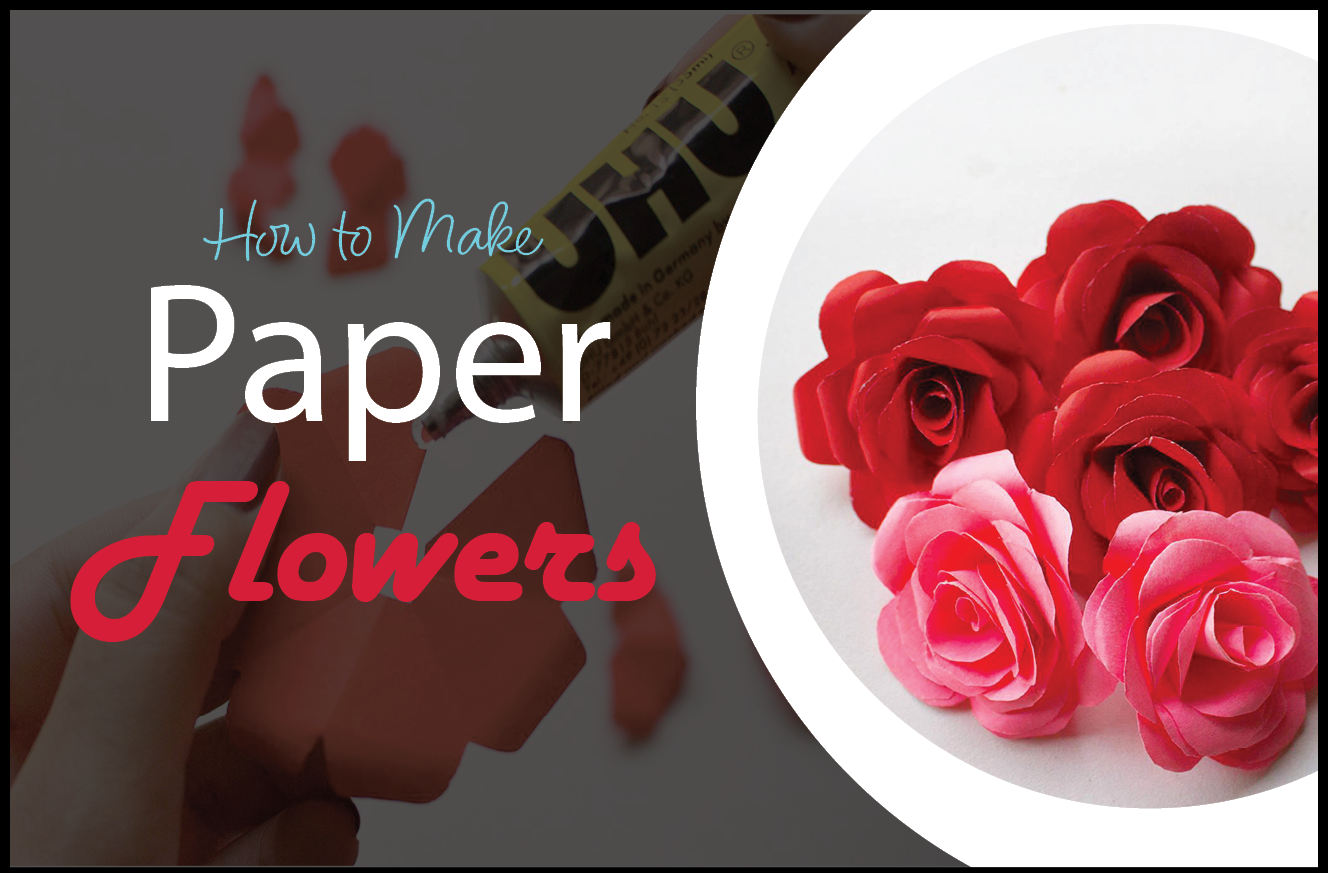
Creating DIY paper roses is a timeless and beautiful craft that can be made using various materials and techniques. Whether you want to make one or a bunch, they are perfect as a gift for your loved ones or as an elegant decoration for any occasion, such as Valentine's Day. Making paper roses is a fun and rewarding activity that everyone can enjoy. Why not try making a DIY bouquet of paper roses for your next special event or to add some charm to your living space? The possibilities are endless, and the outcome is sure to be stunning. Let's get started!
Crafting Materials Needed:
- Paper (Red or Pink )
- Scissors
- Glue
- Pencil
- Wooden skewer to curve the petals
Quick Instructions:
- Create four square pieces of paper and fold.
- Draw a round half circle shape of a petal on the folded piece of paper and cut it.
- Cut a petal out of each flower.
- Curve all the petals using a wooden skewer.
- Overlap, roll, and glue the paper pieces.
- Assemble the rose flower pieces together.
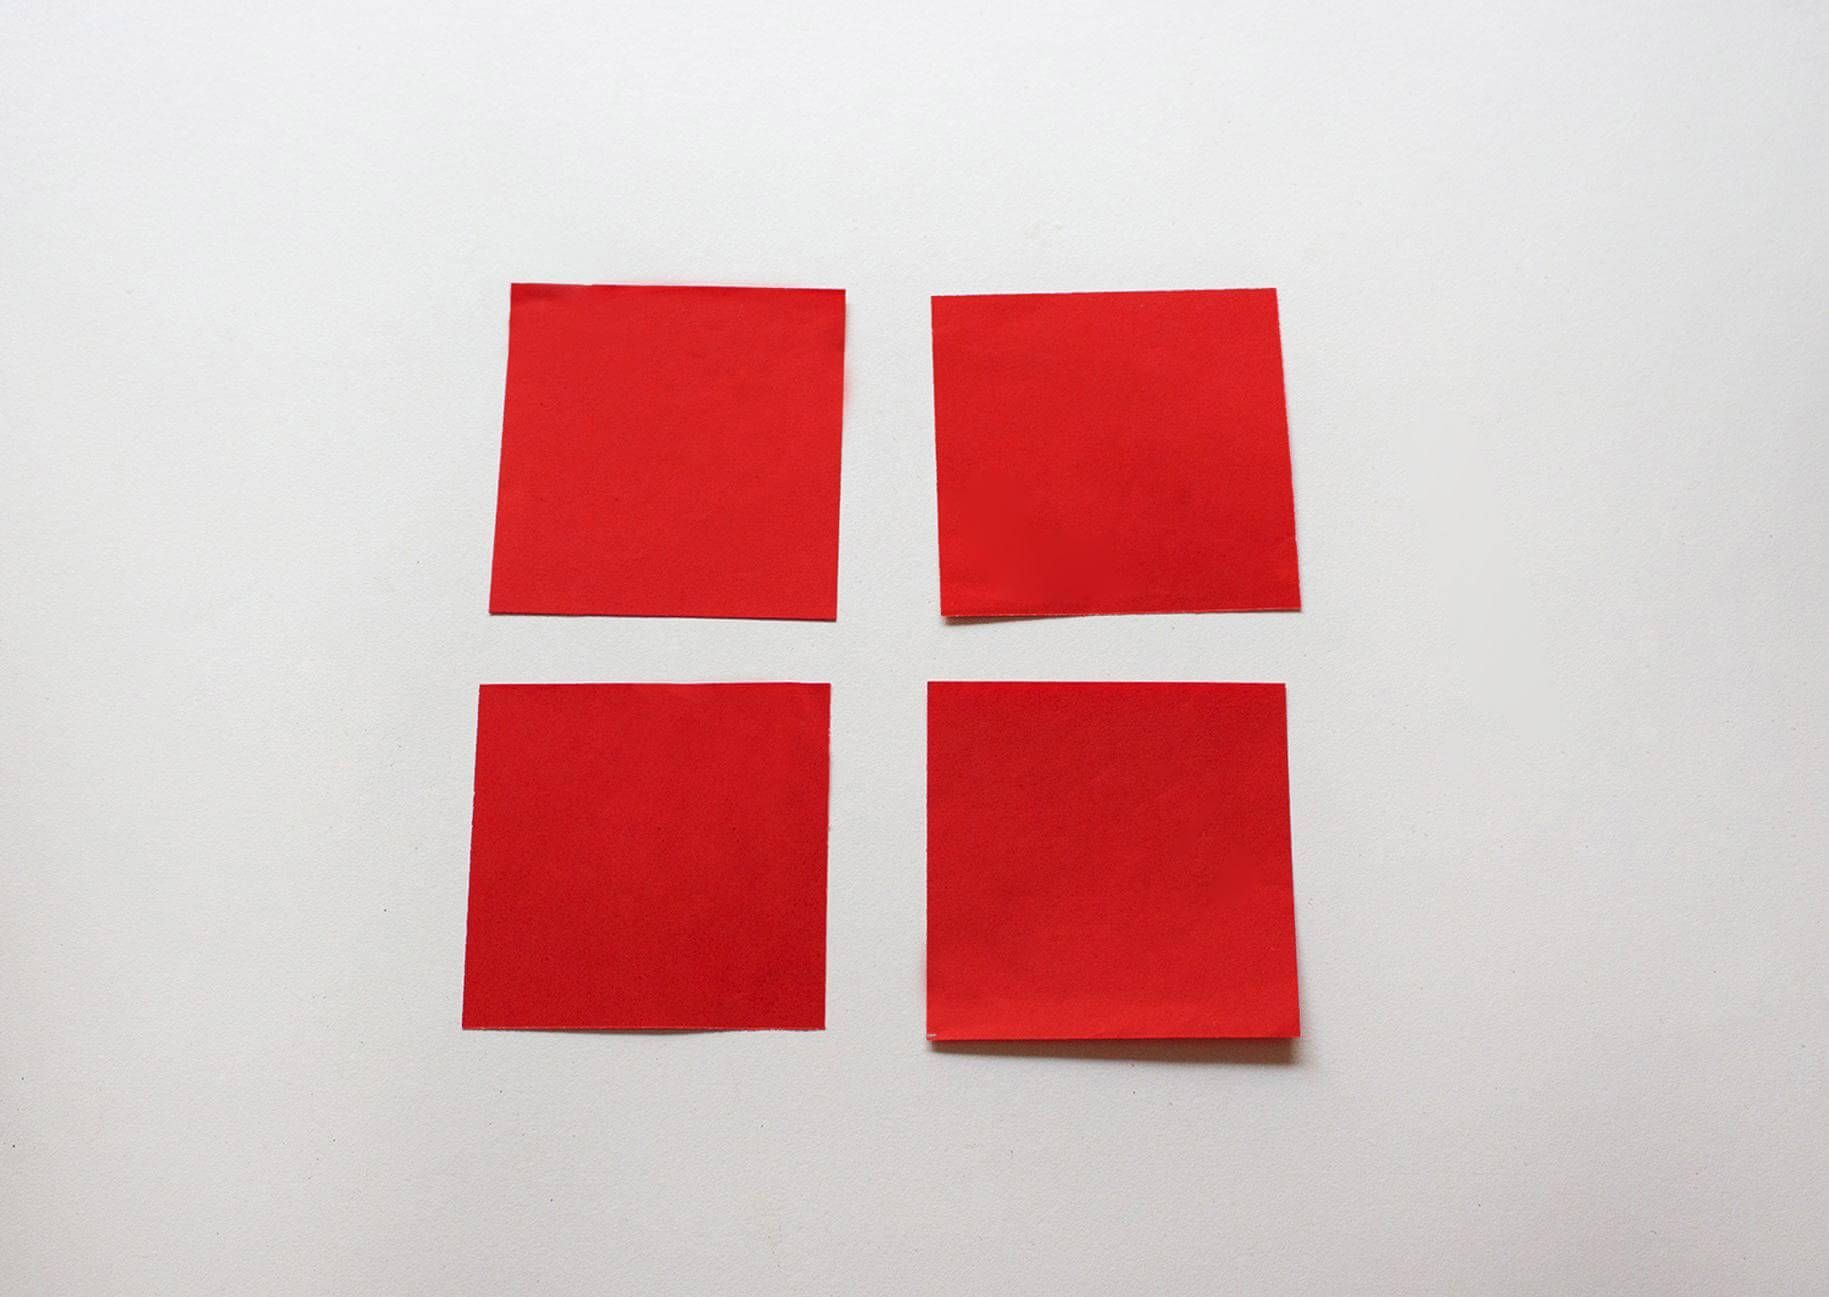
Step 1: Create four square pieces of paper and fold.
You will need four square pieces of paper. I used 7cm x 7cm paper. The size of the roses will depend on the size of paper used, the larger the paper, the bigger the roses will turn out.
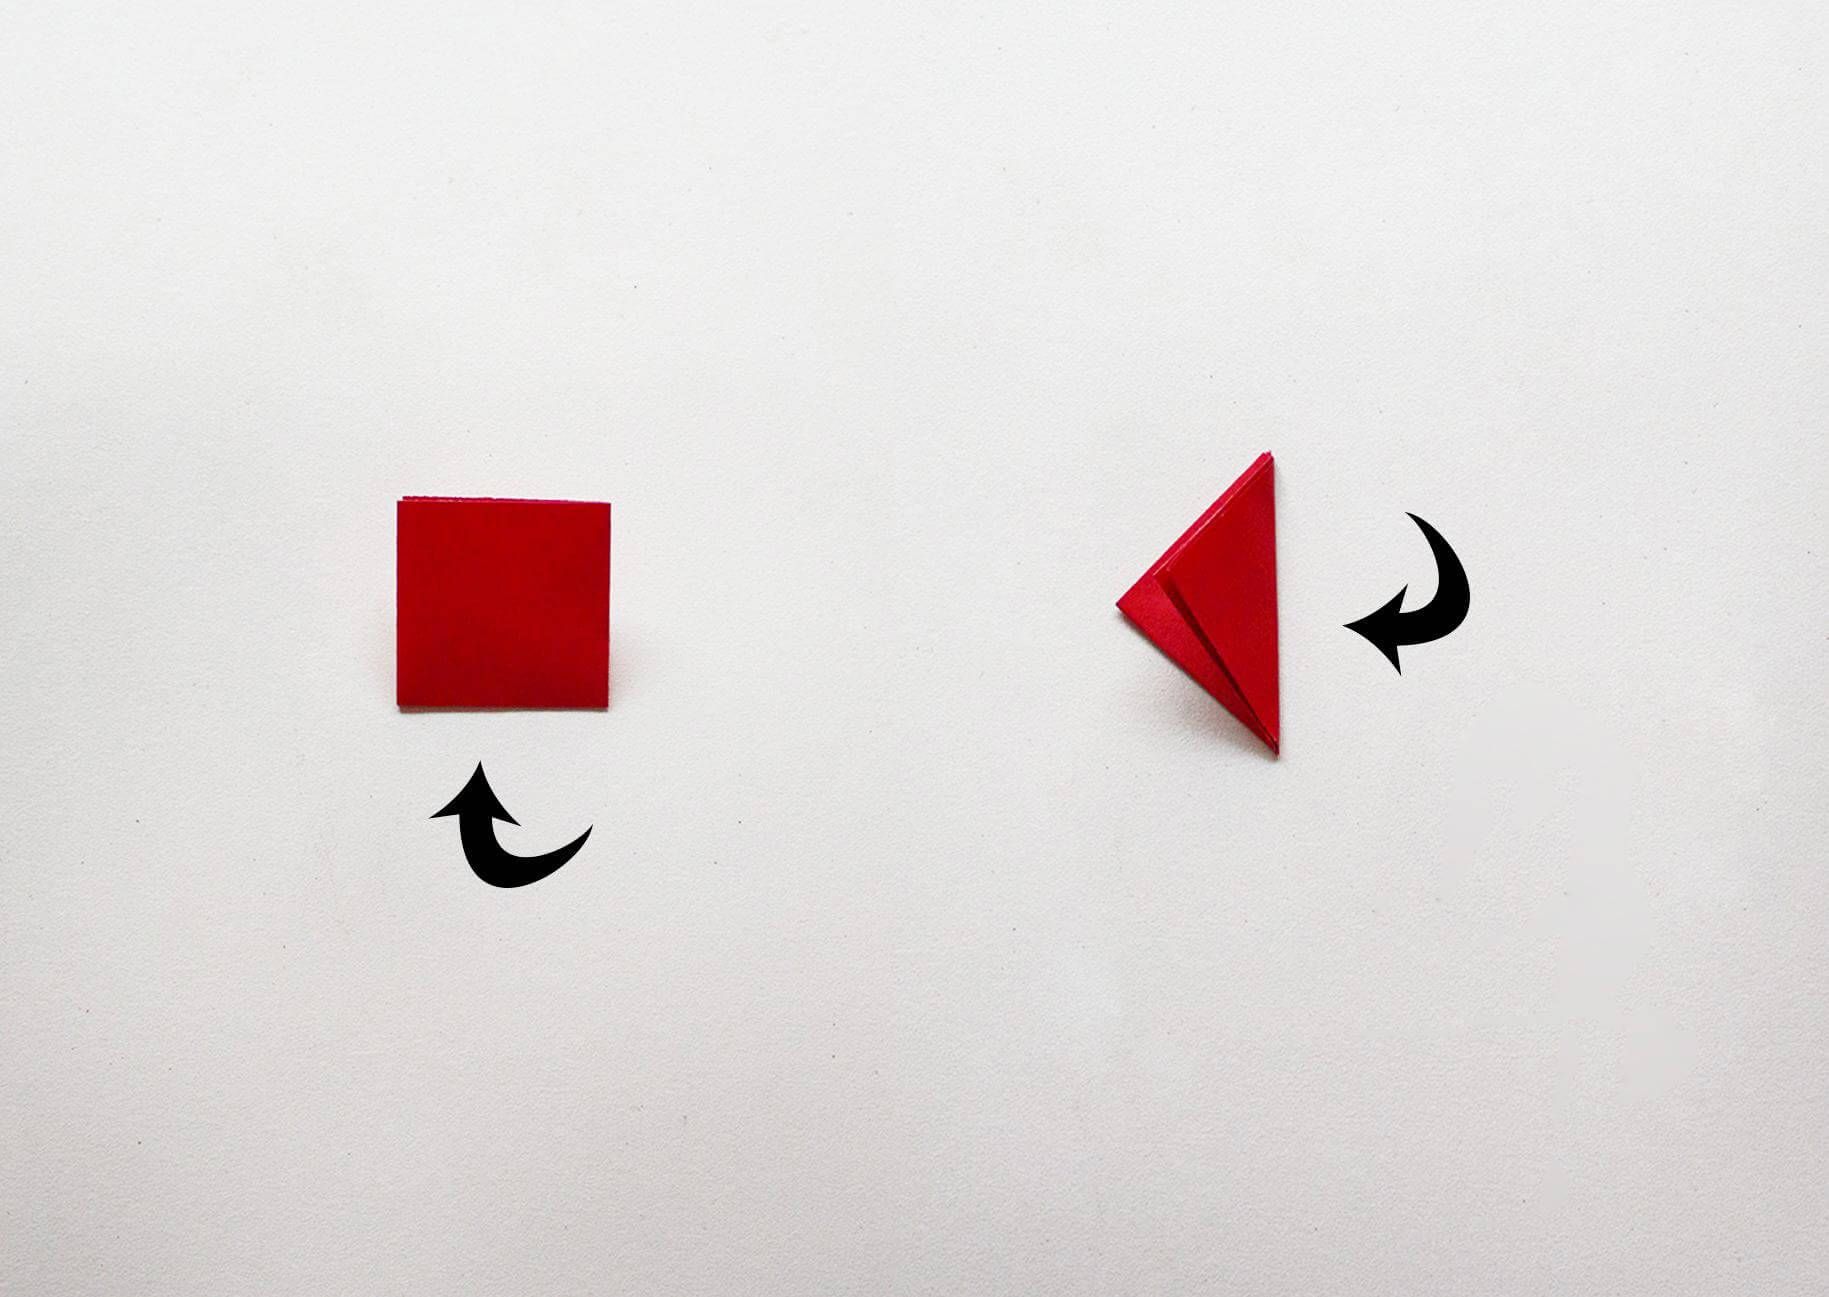
Fold each piece of paper in half. They should look like a paper football at the end.
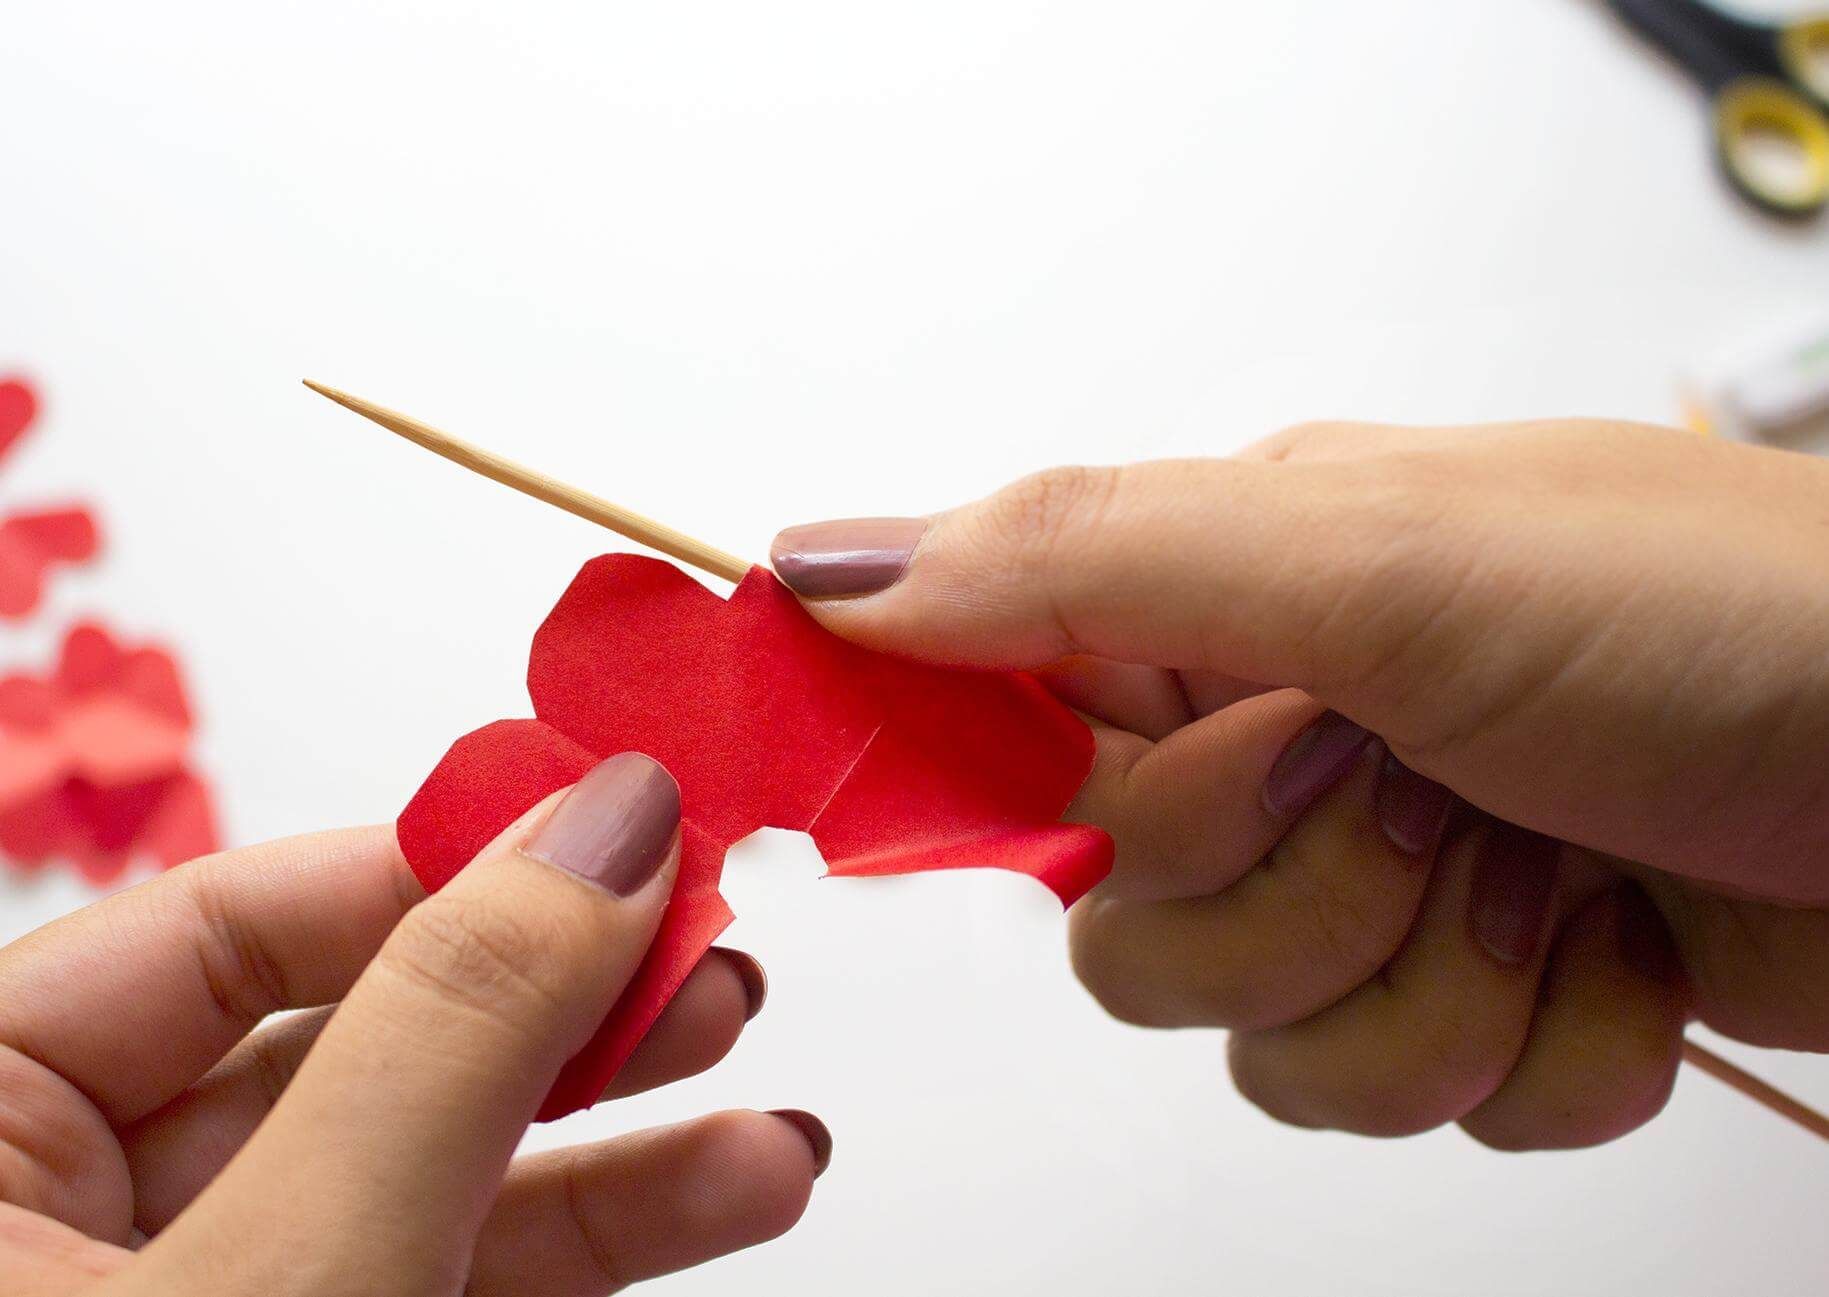
Step 2: Draw a round half circle shape of a petal on the folded piece of paper and cut it.
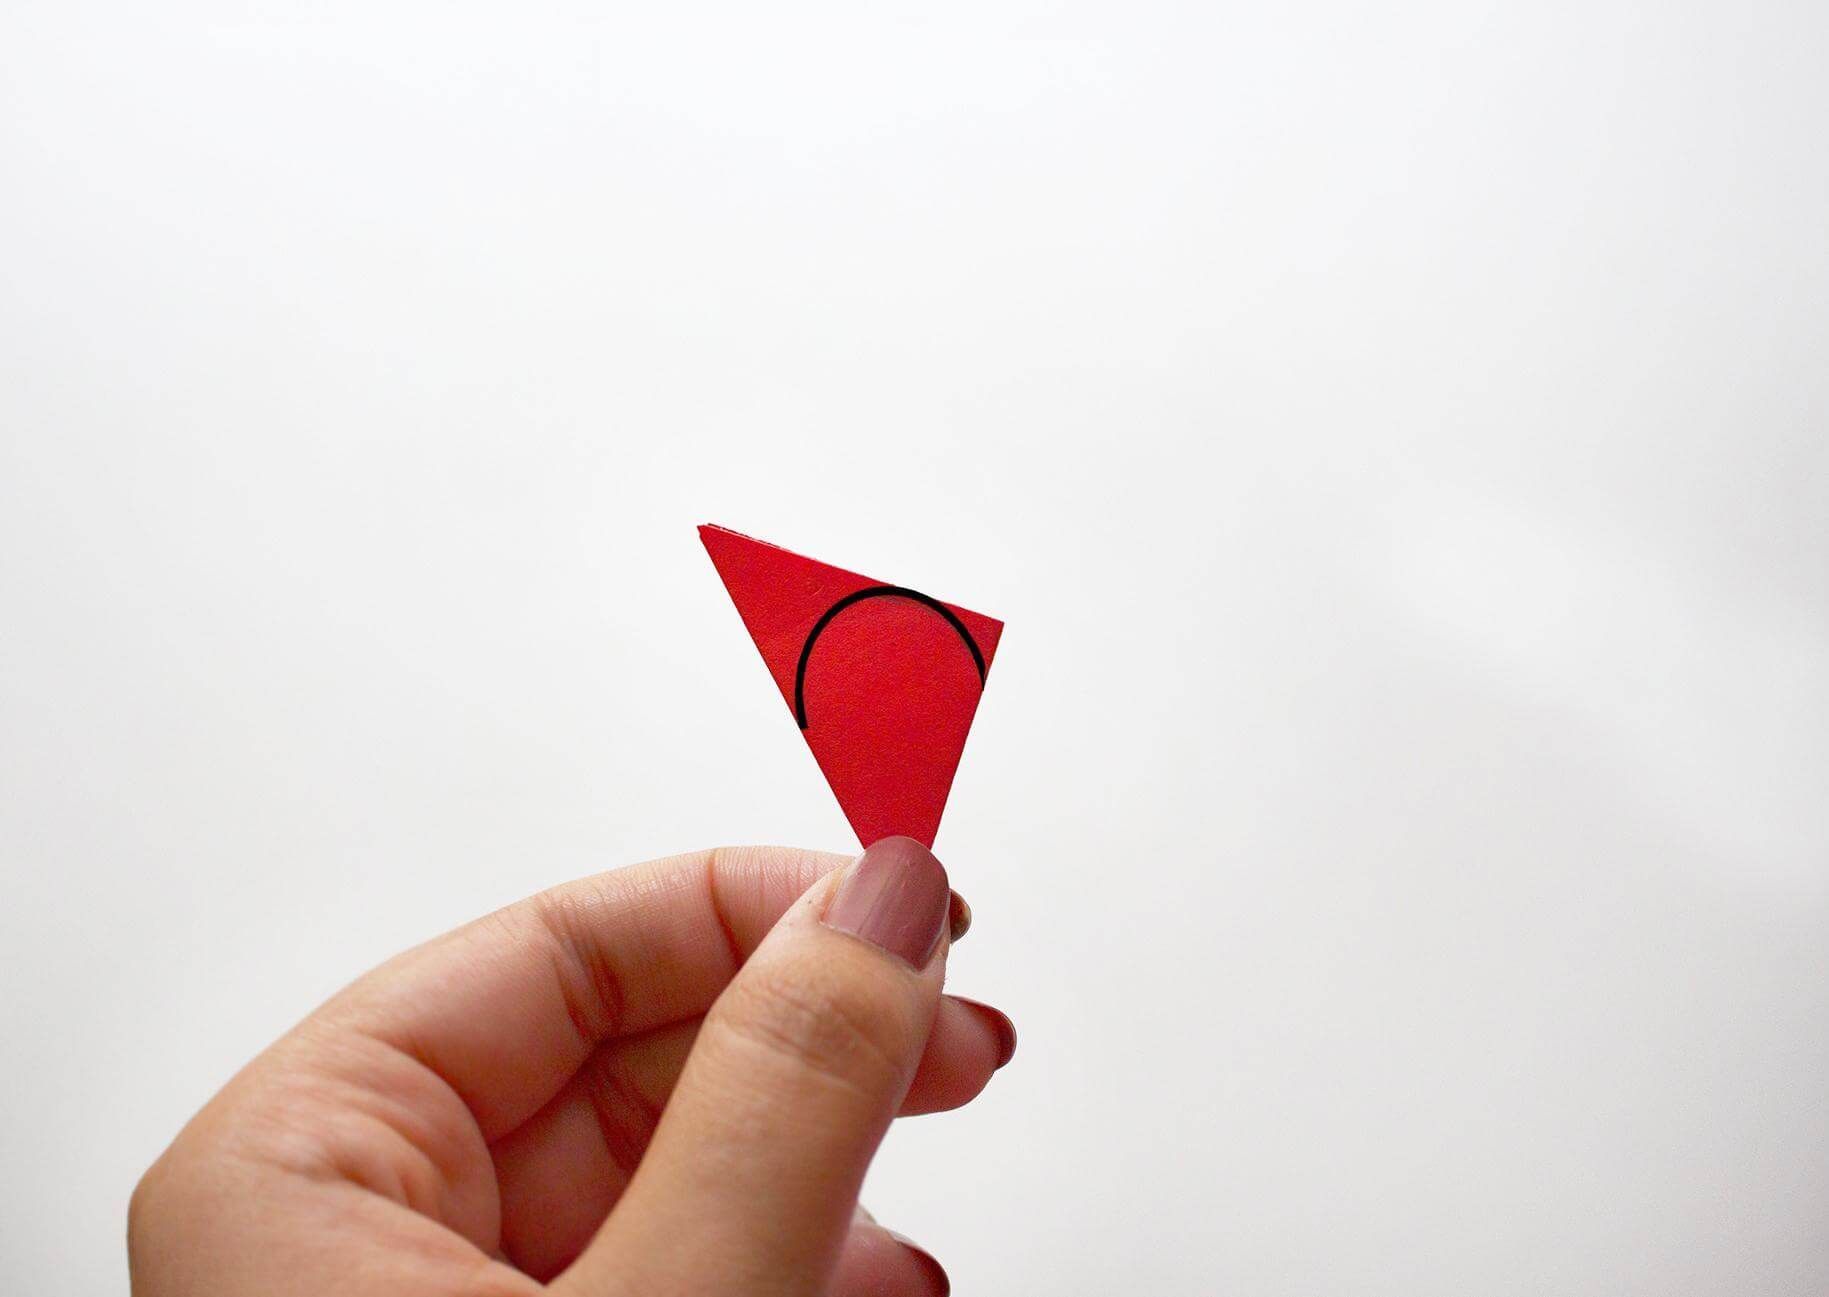
Be careful when cutting the paper, the edges should be round and smooth.

Then cut the bottom point as showing below.
Make sure you don’t over cut the tip.
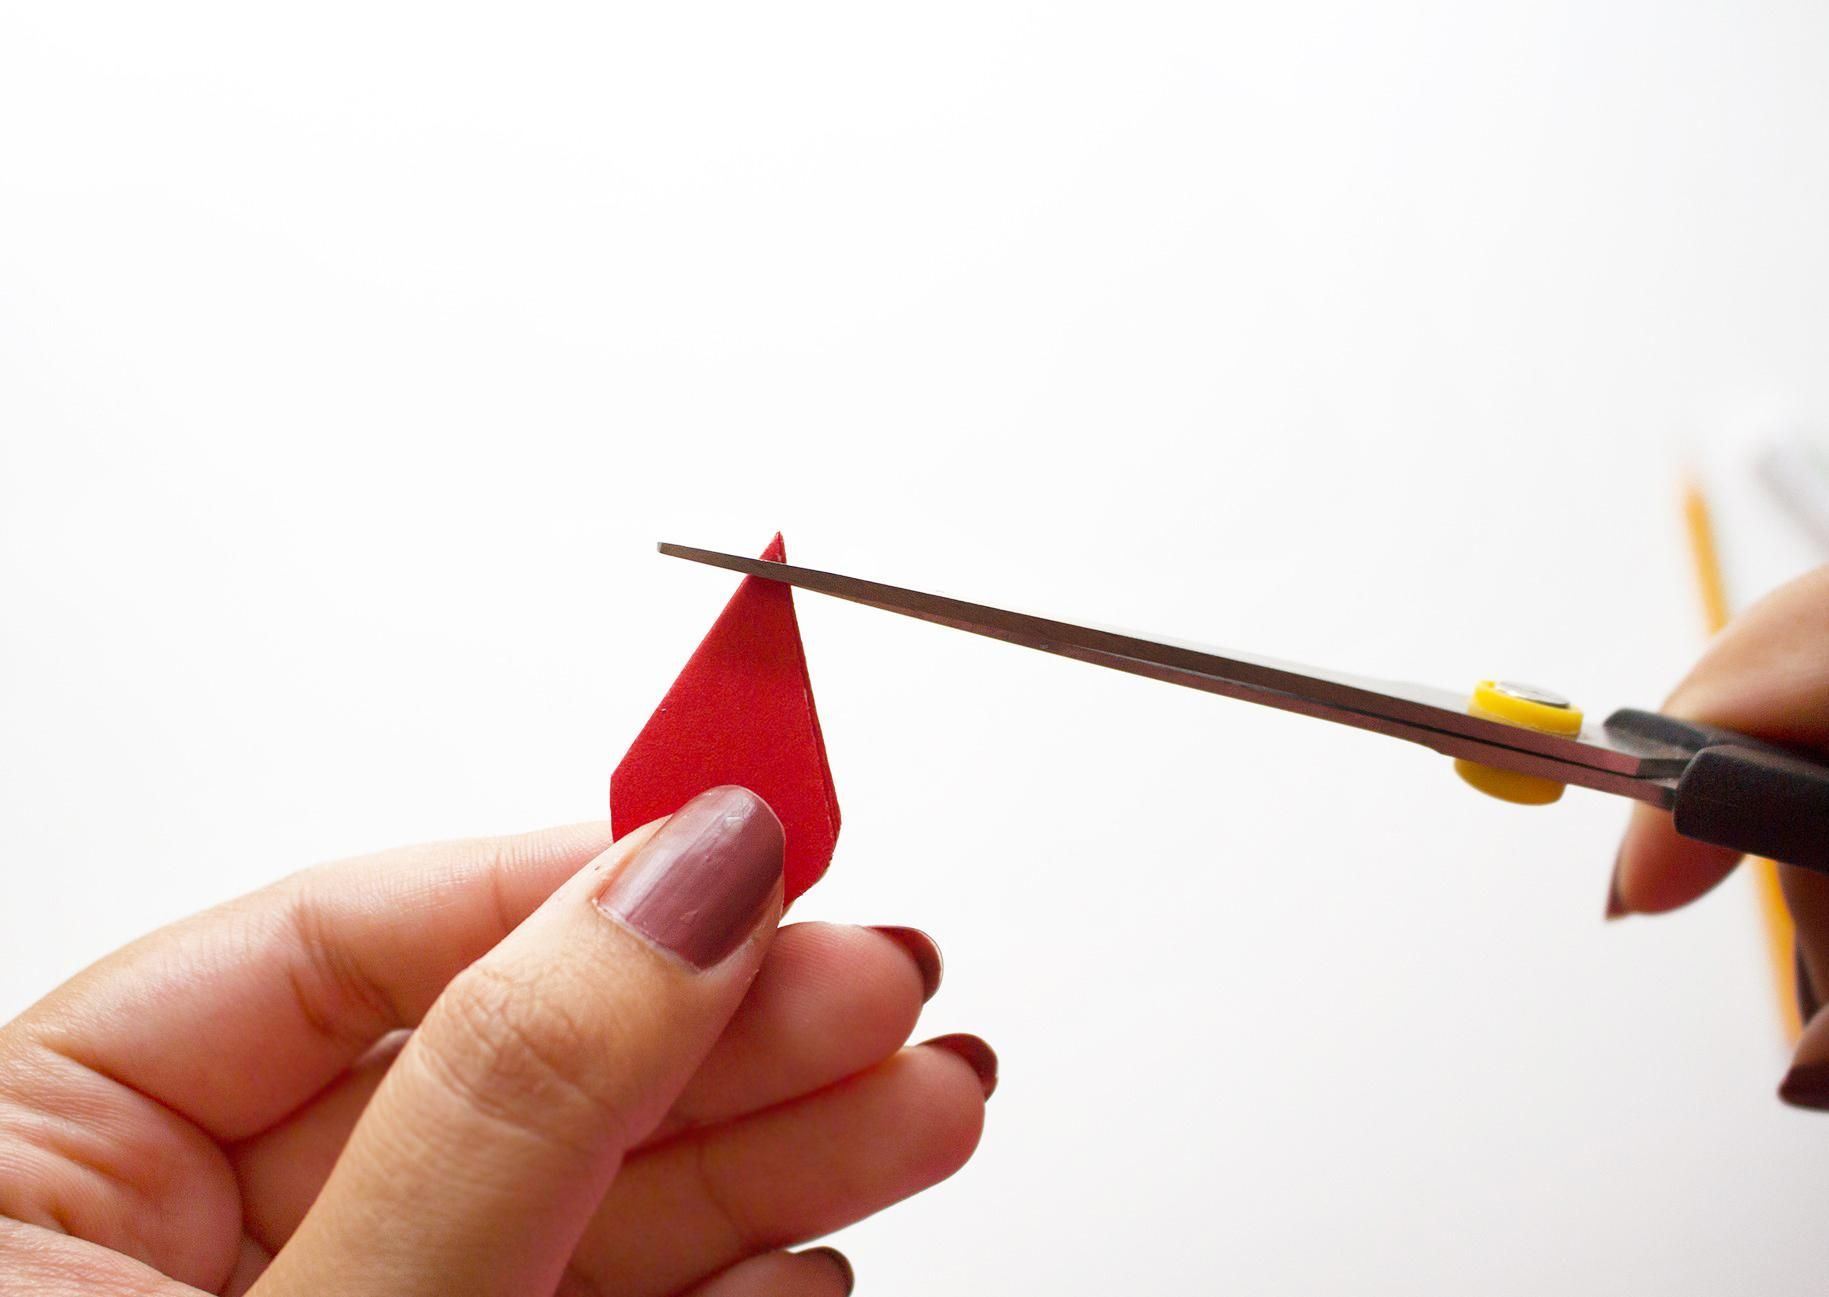
Repeat the same process on all the four pieces of paper. Once you have finished cutting off all the tips, unfold your paper to reveal the start of your paper flower.
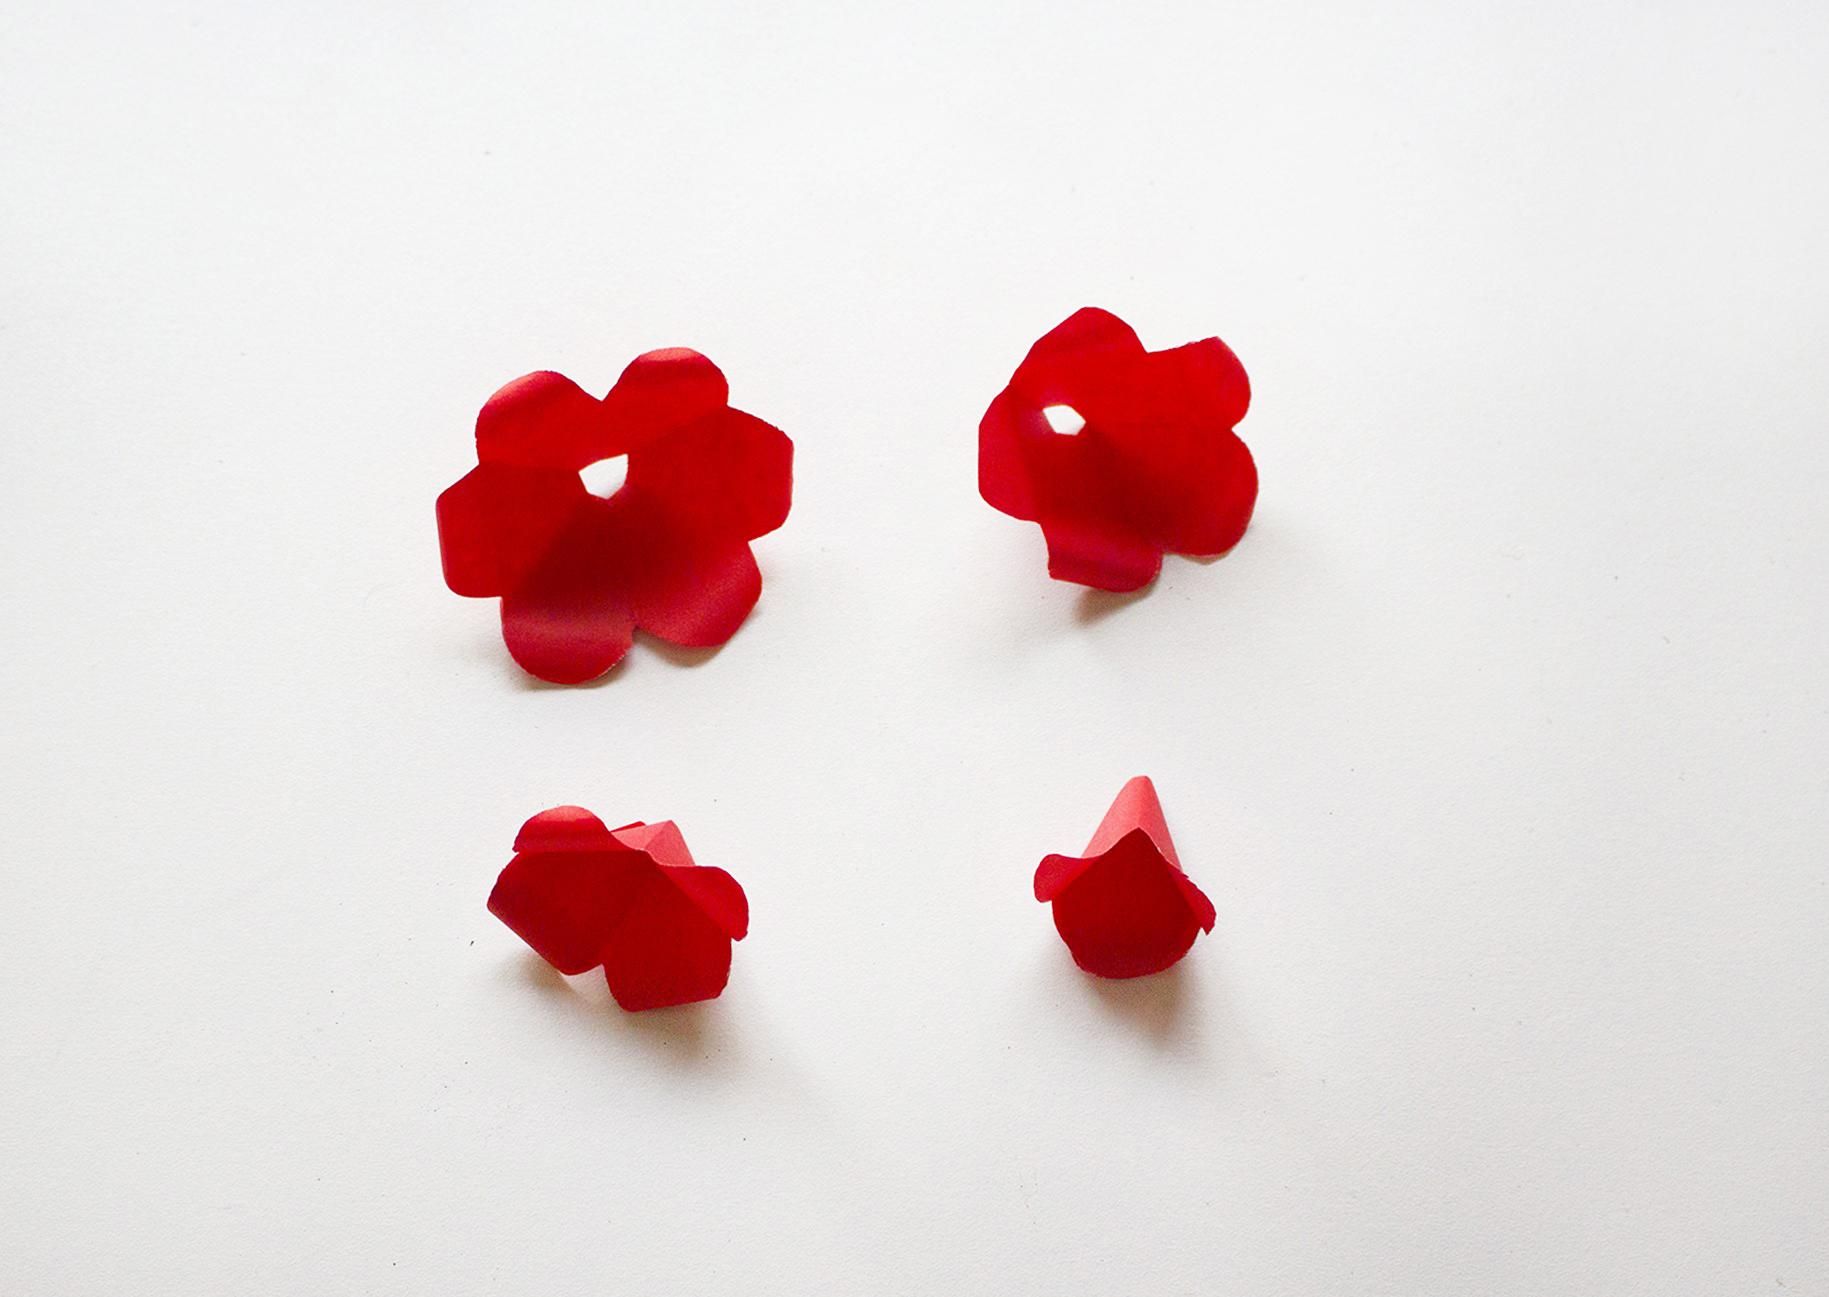
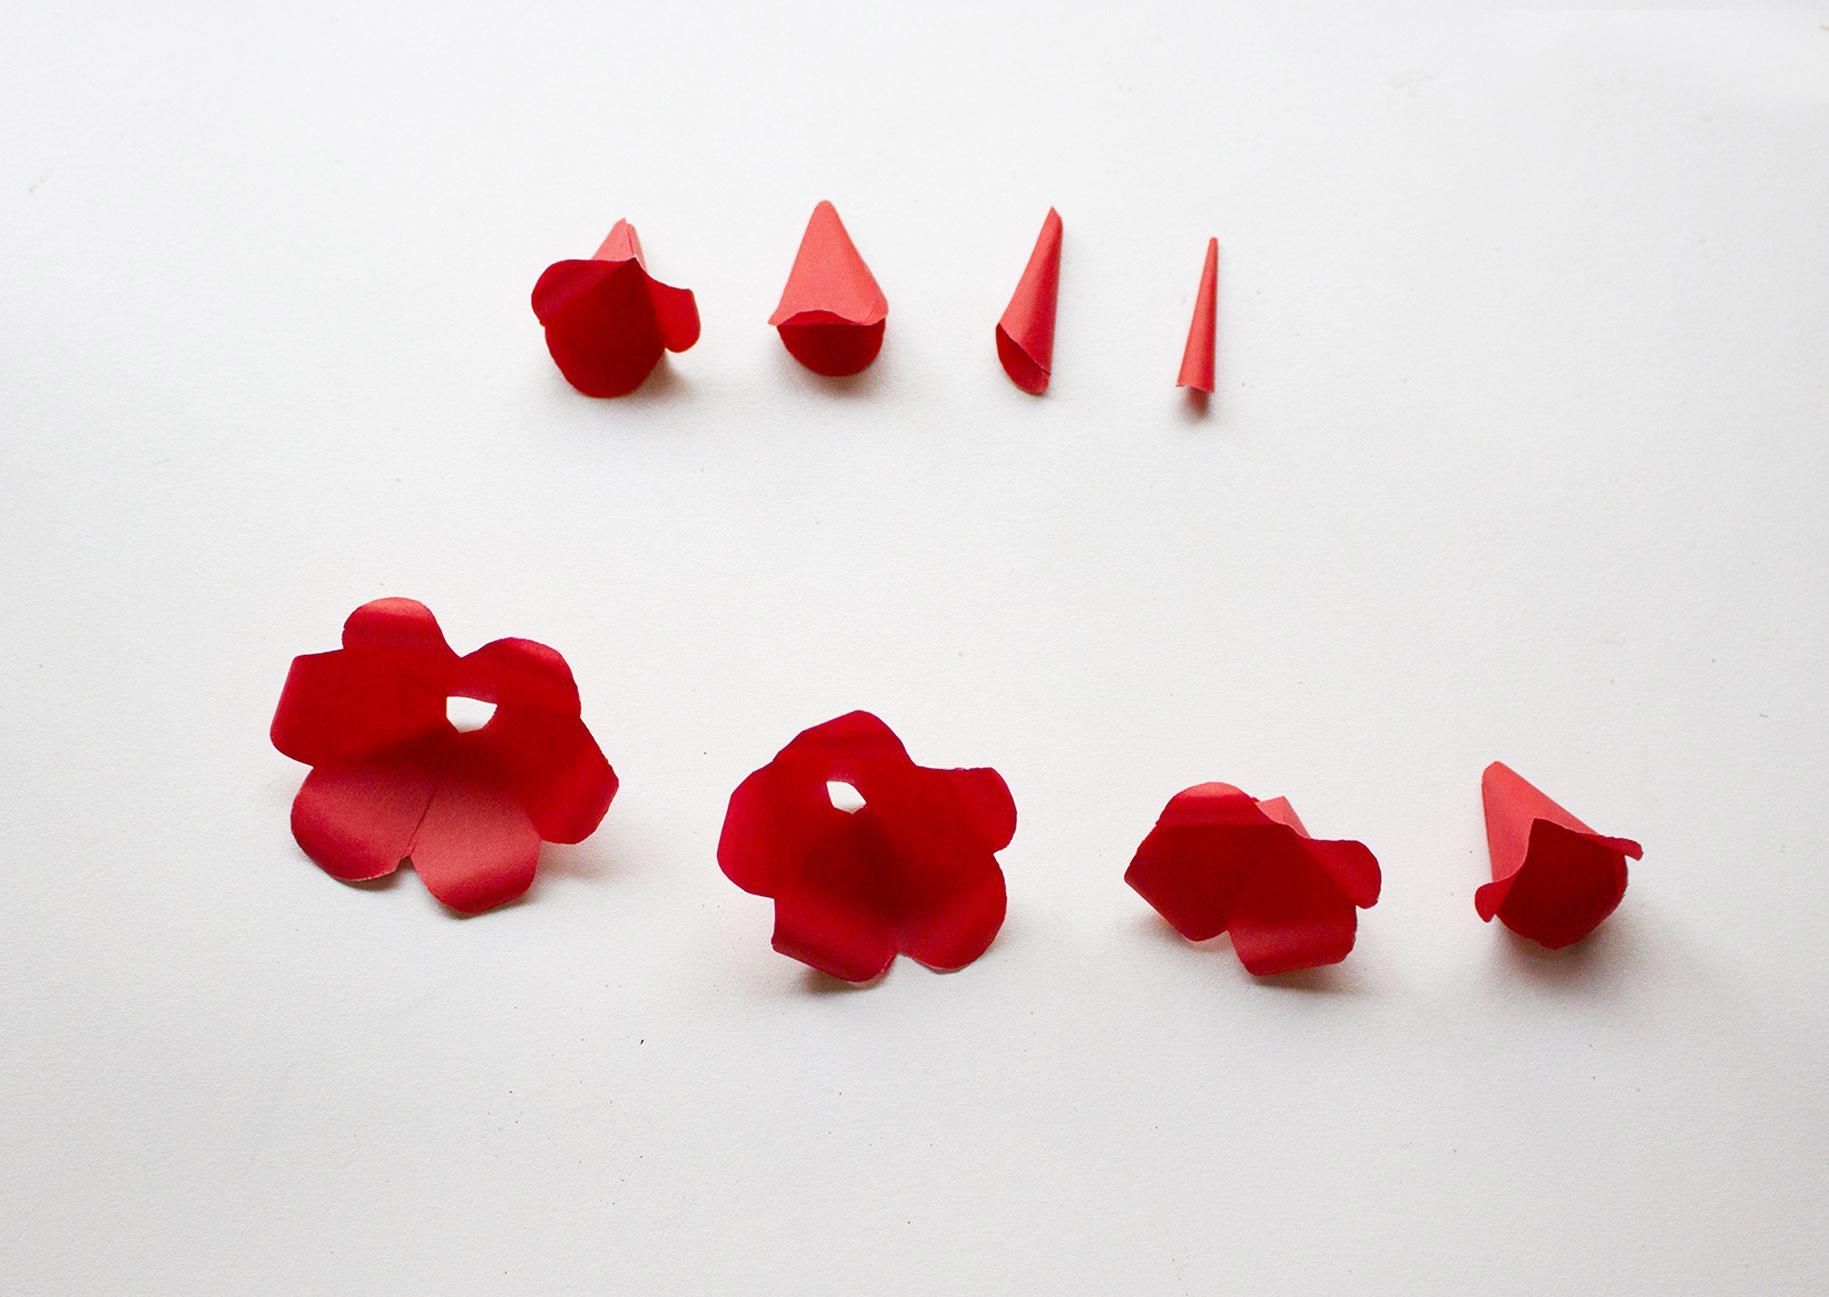
Step 3: Cut a petal out of each flower.
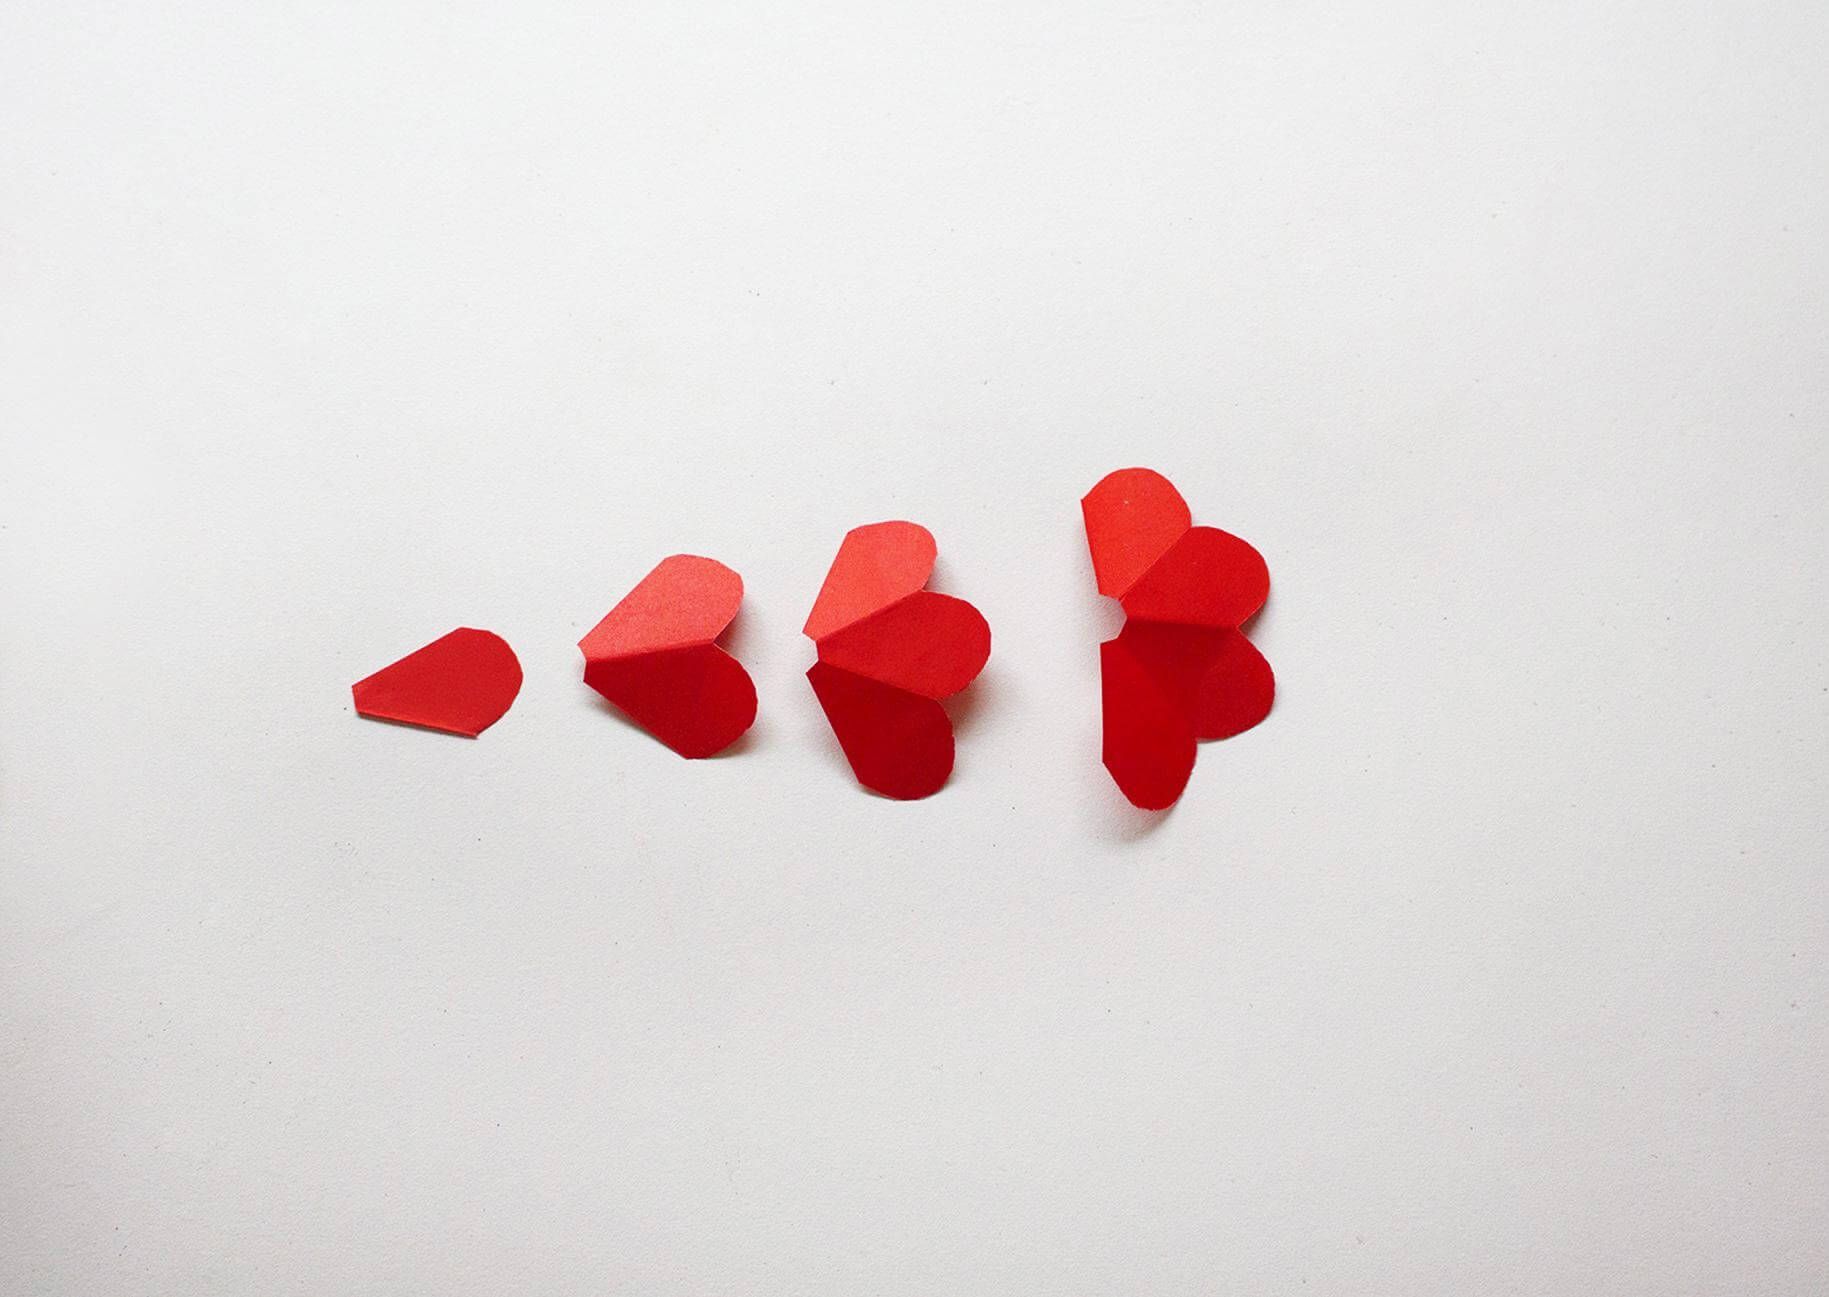
Now cut a petal out of each flower, cut one petal from first flower, two petals from the second flower, three from the third flower and cut the fourth flower in half.
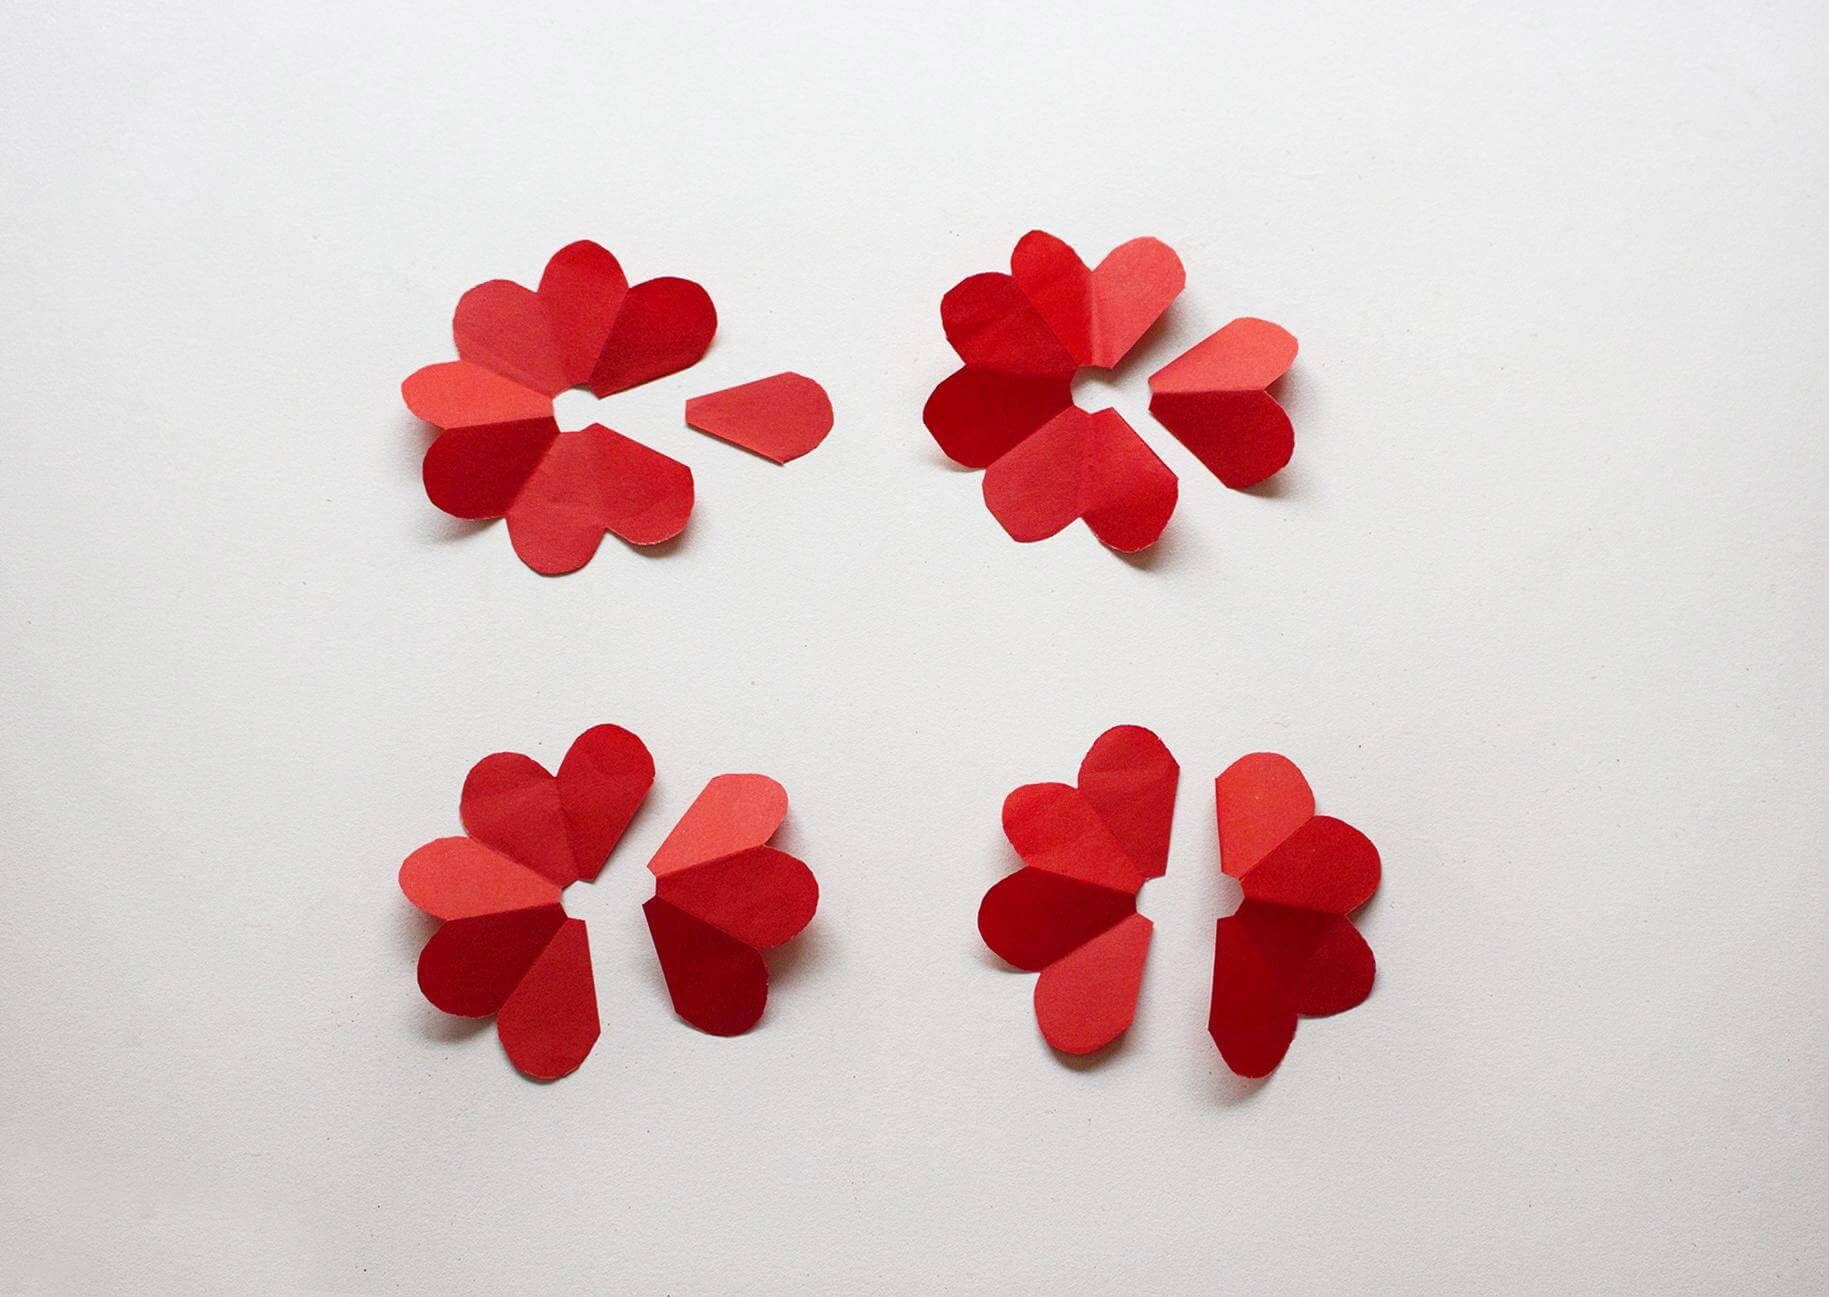
These four small petals will be the center of your flower.
Step 4: Curve all the petals using a wooden skewer.
Curve all the petals using a wooden skewer. Feel free to use any thin long object which can be used to curve the petals other than the wooden skewer.
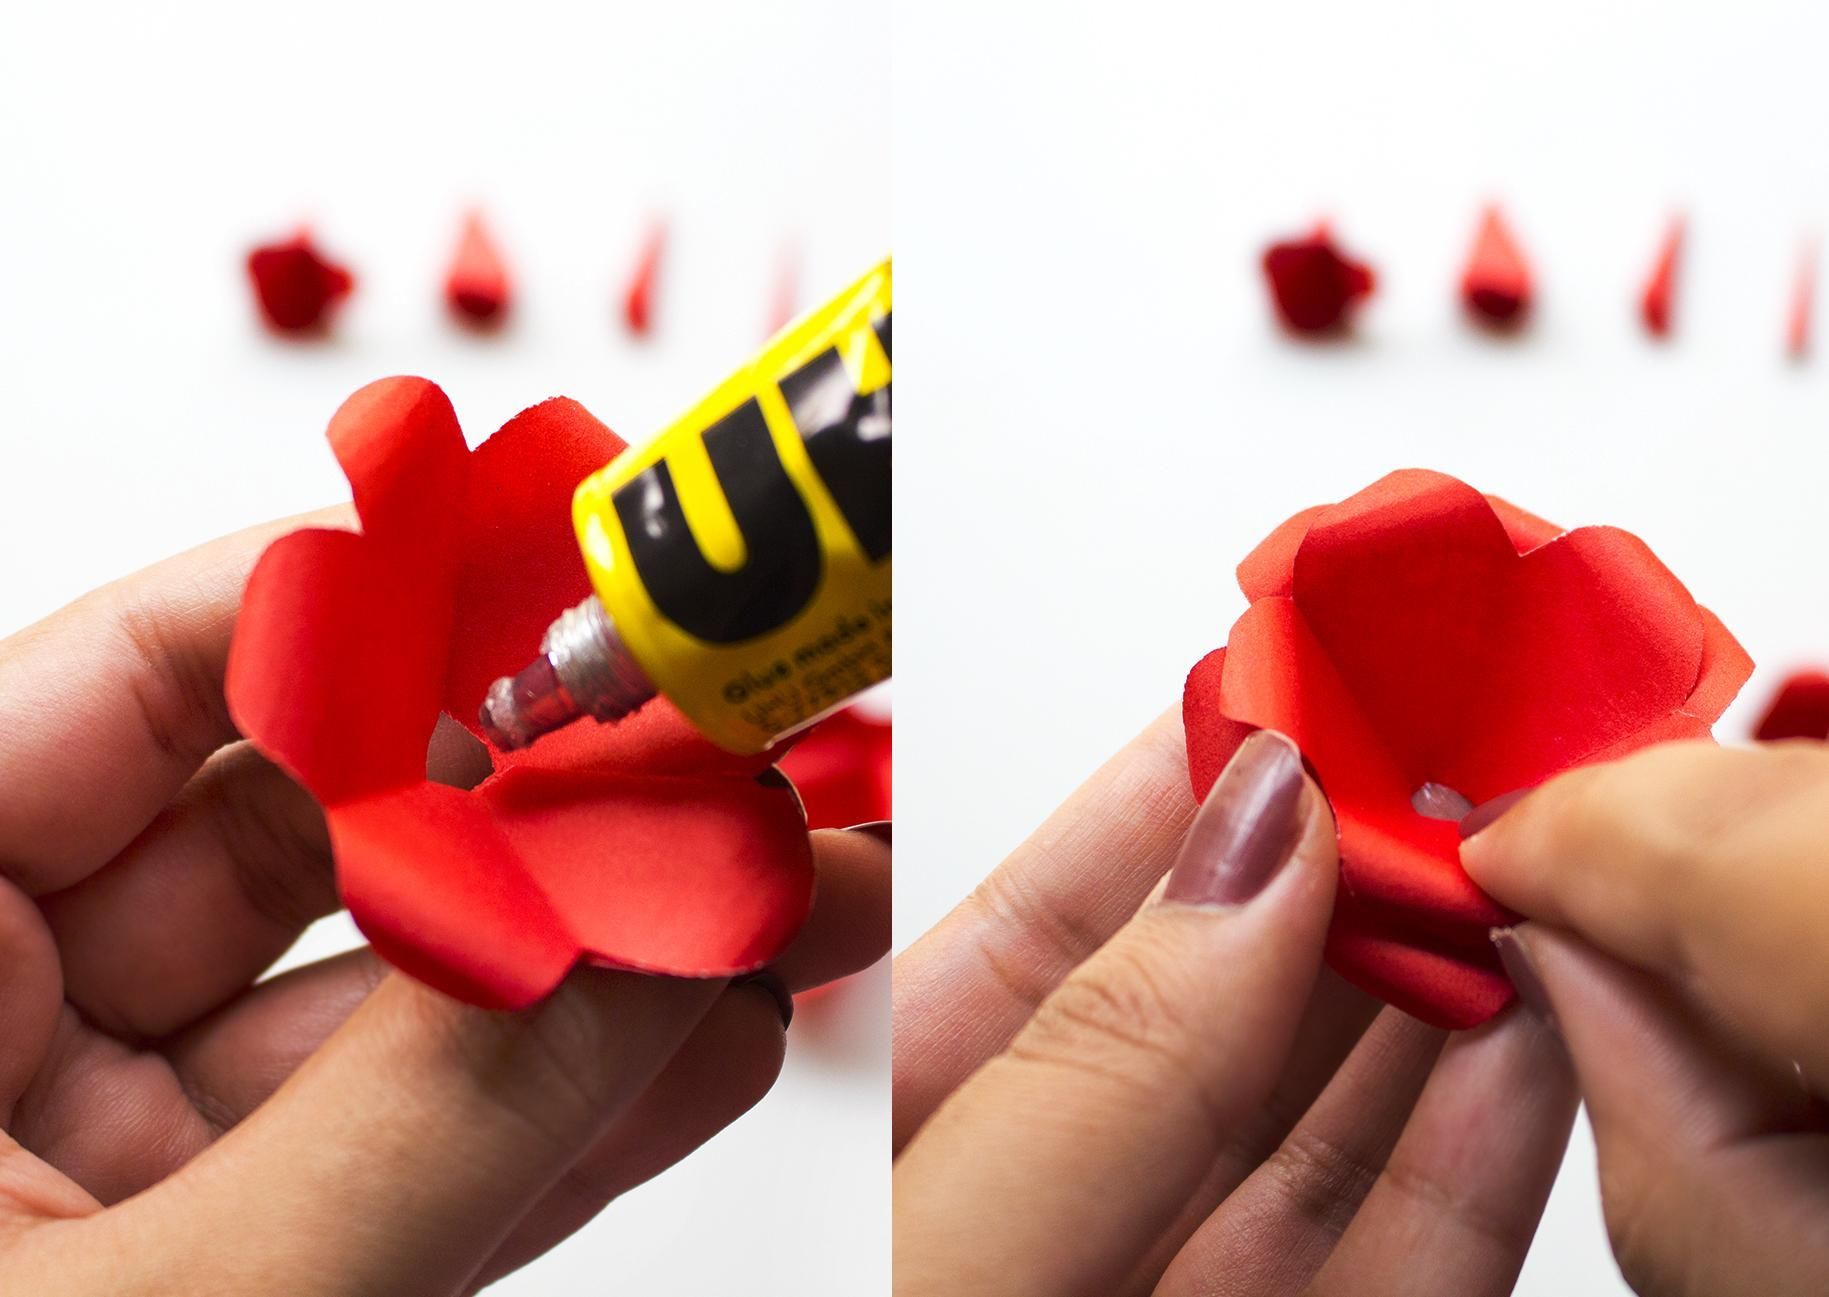
Step 5: Overlap, roll, and glue the paper pieces.
Now overlap the petals of all the pieces of the flower one by one and then glue them. They should look like the images below.
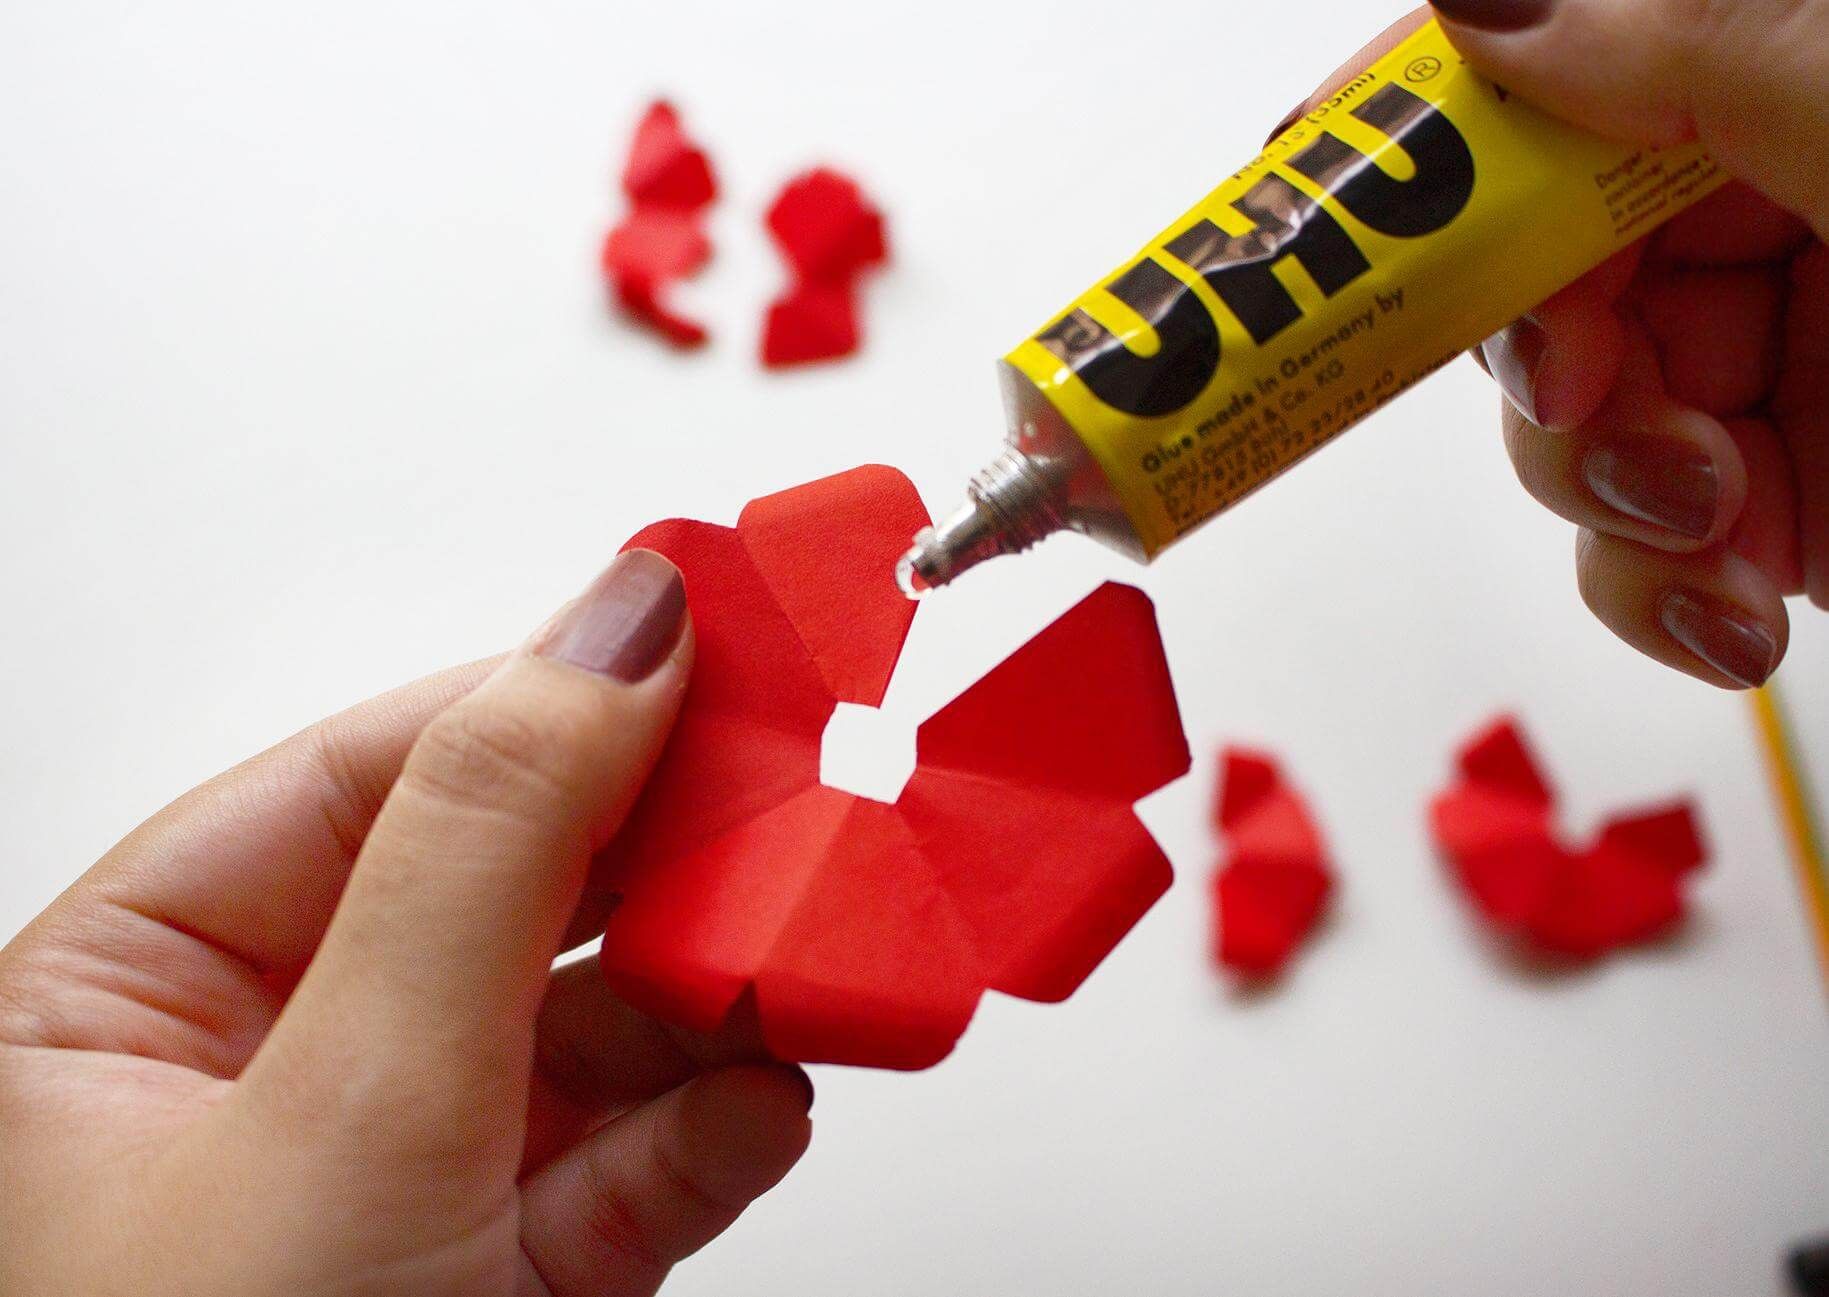
Great job, you've successfully created your first full piece of your rose flower.
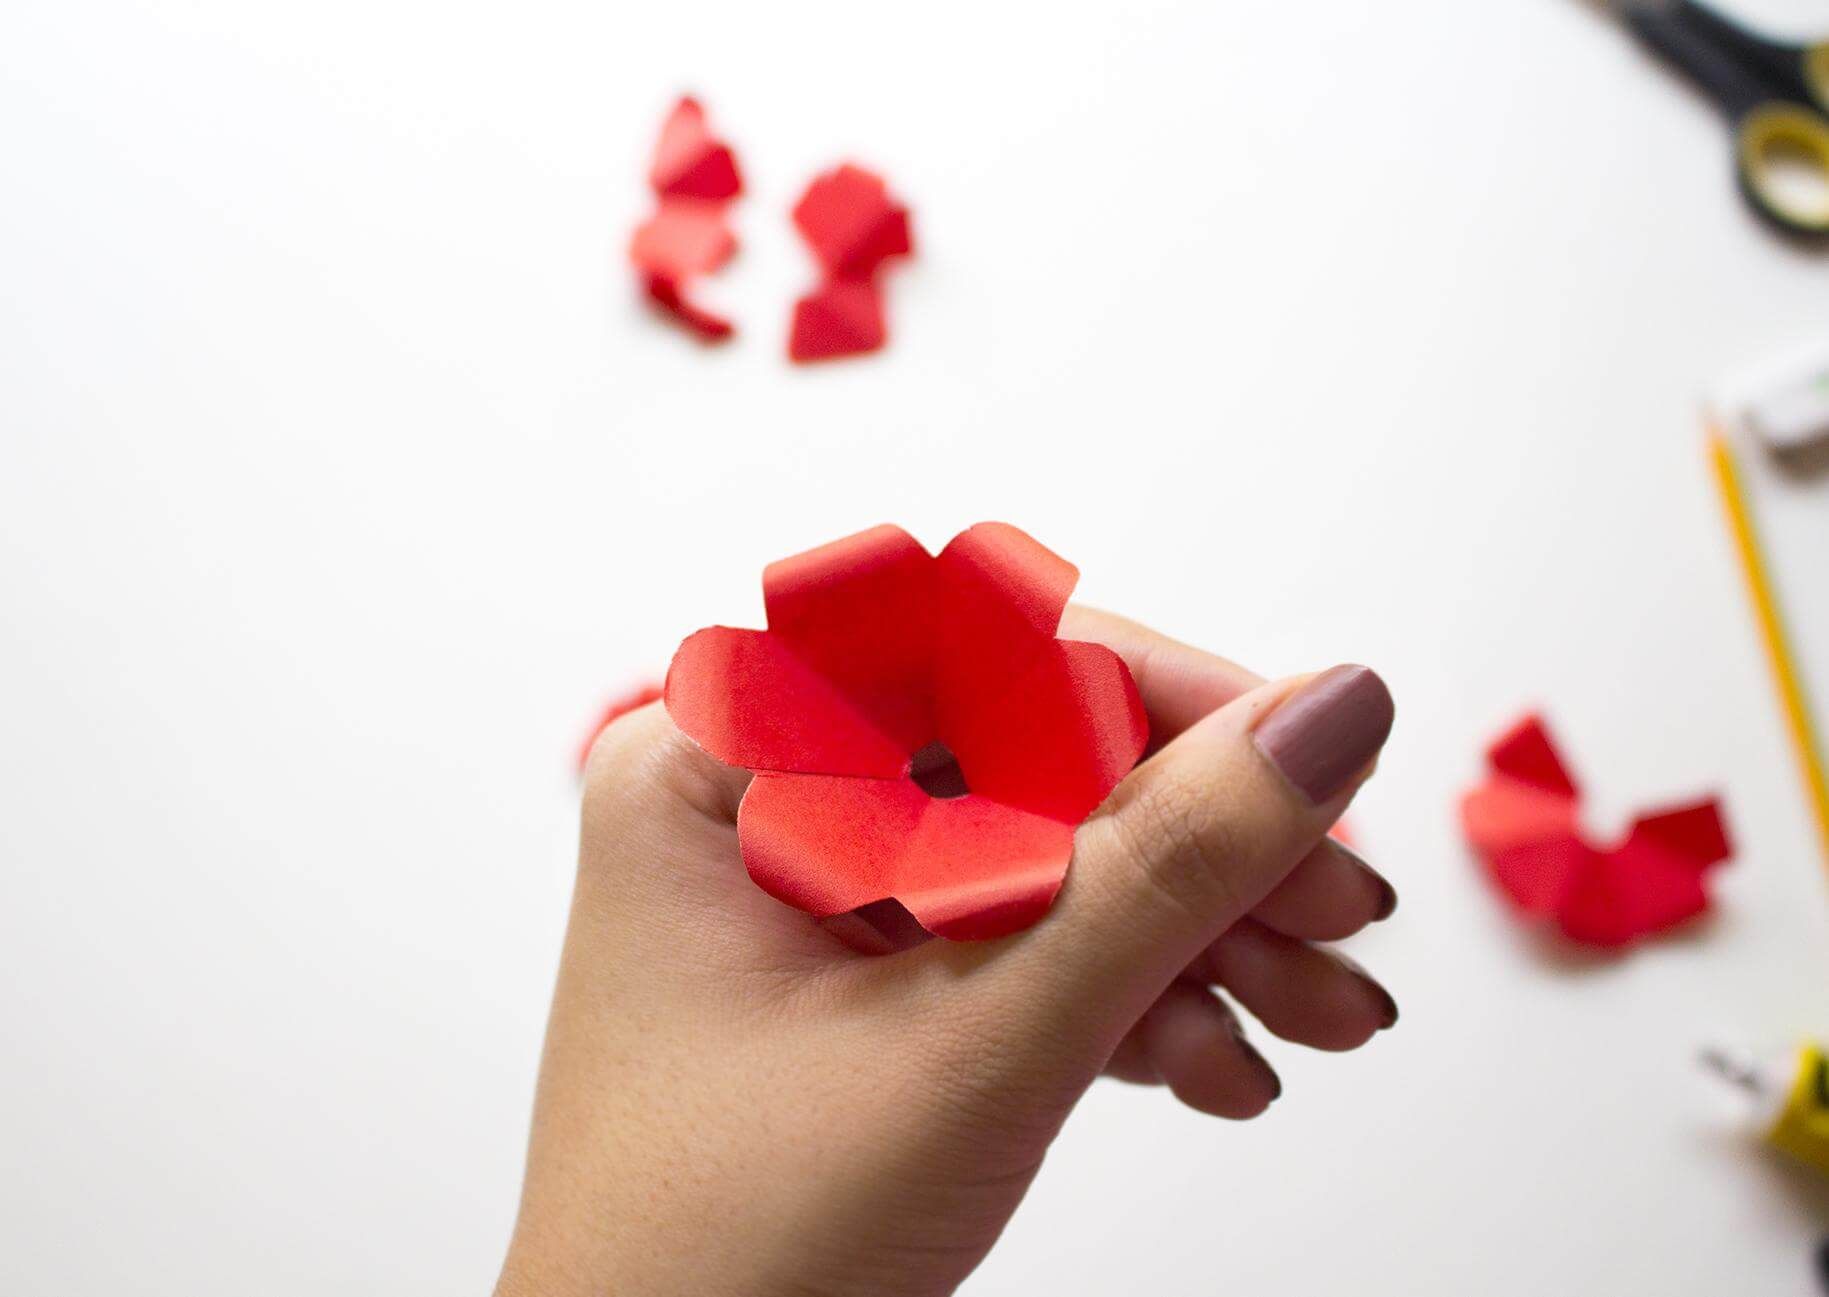
Use wooden skewer and roll the single petal tightly and roll the double petal slightly larger than the single petal.
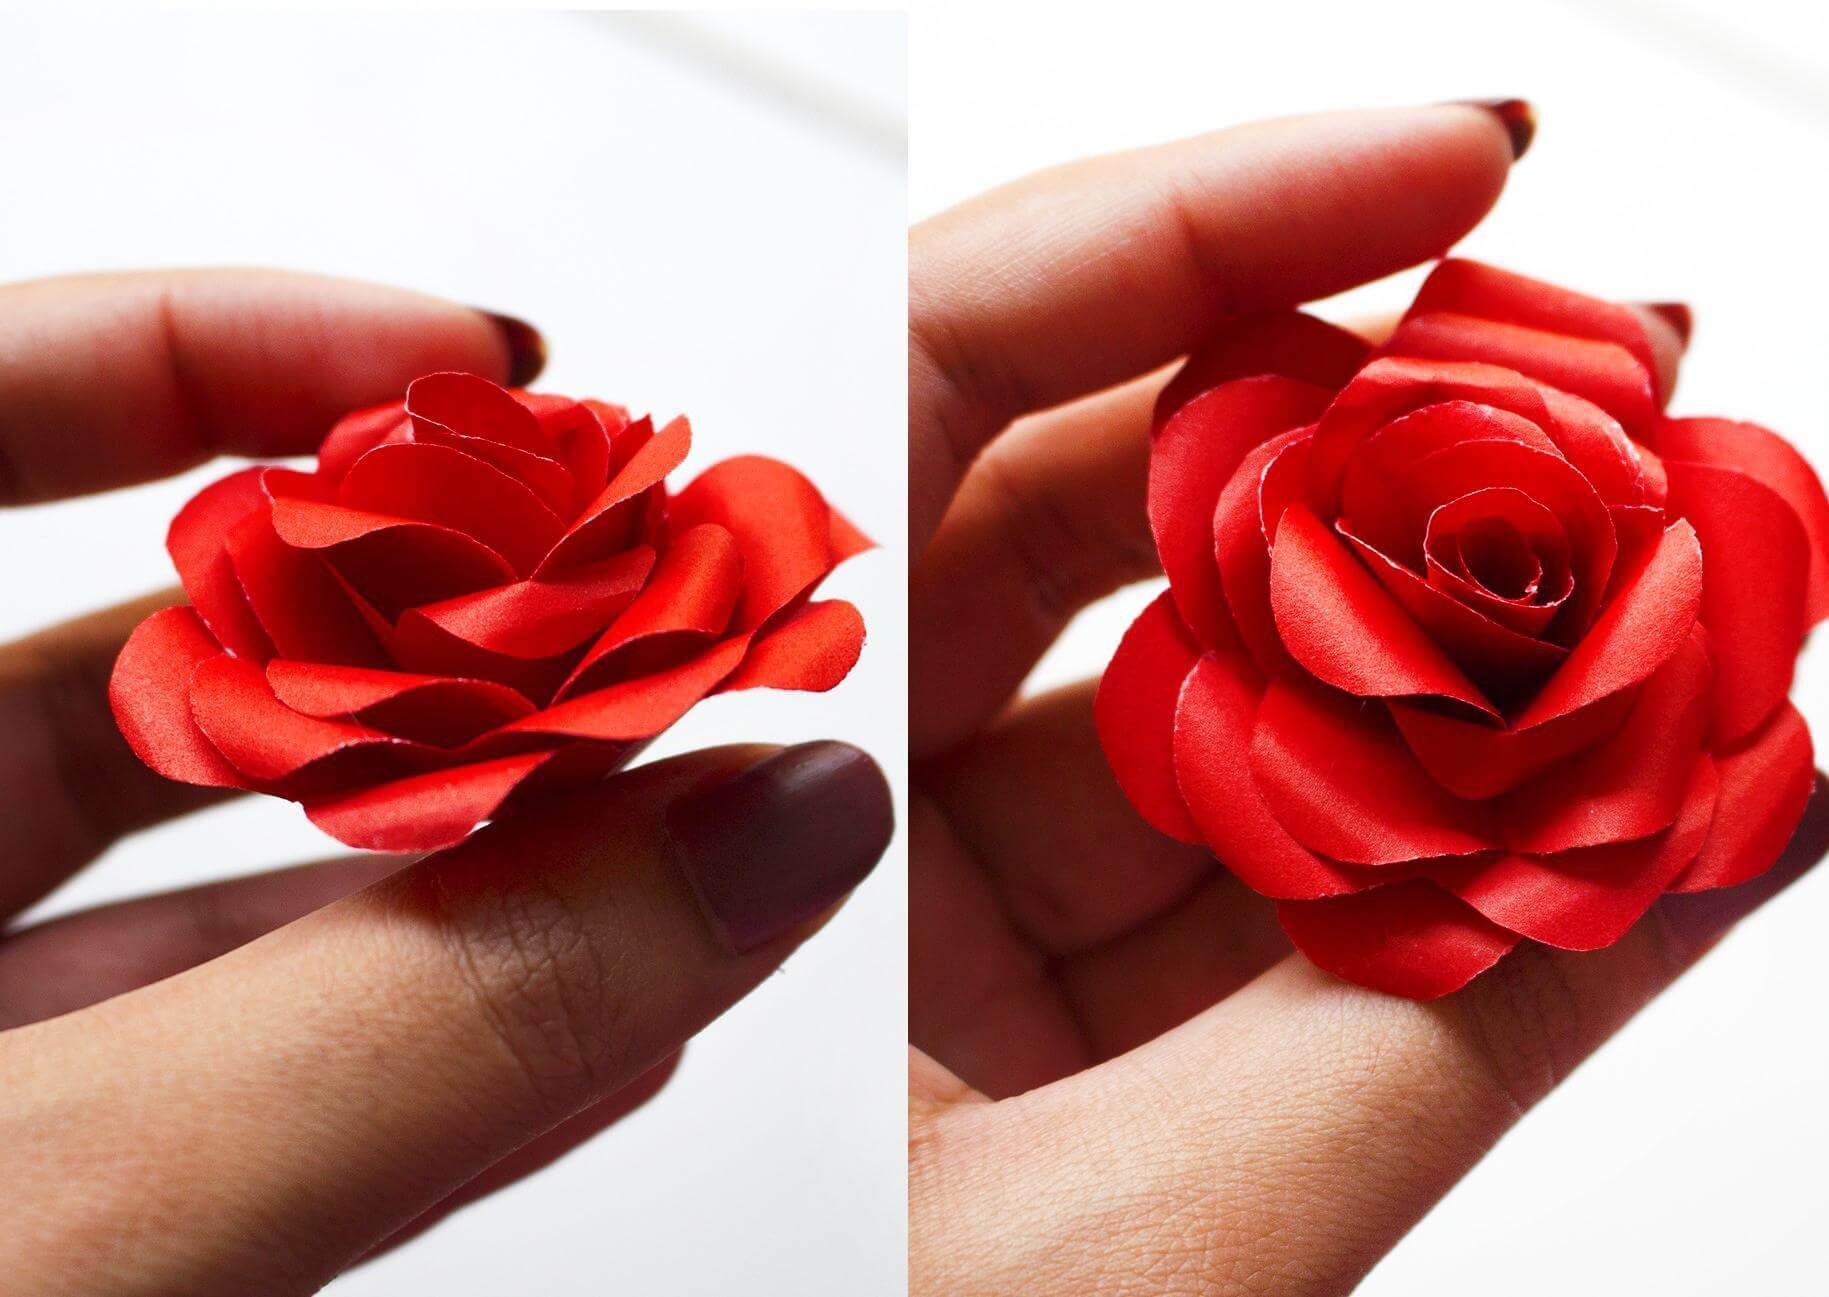
Step 6: Assemble the rose flower pieces together.
Start gluing the flower pieces together. The ones with more petals should be on the bottom and the ones with fewer petals should be on the top.
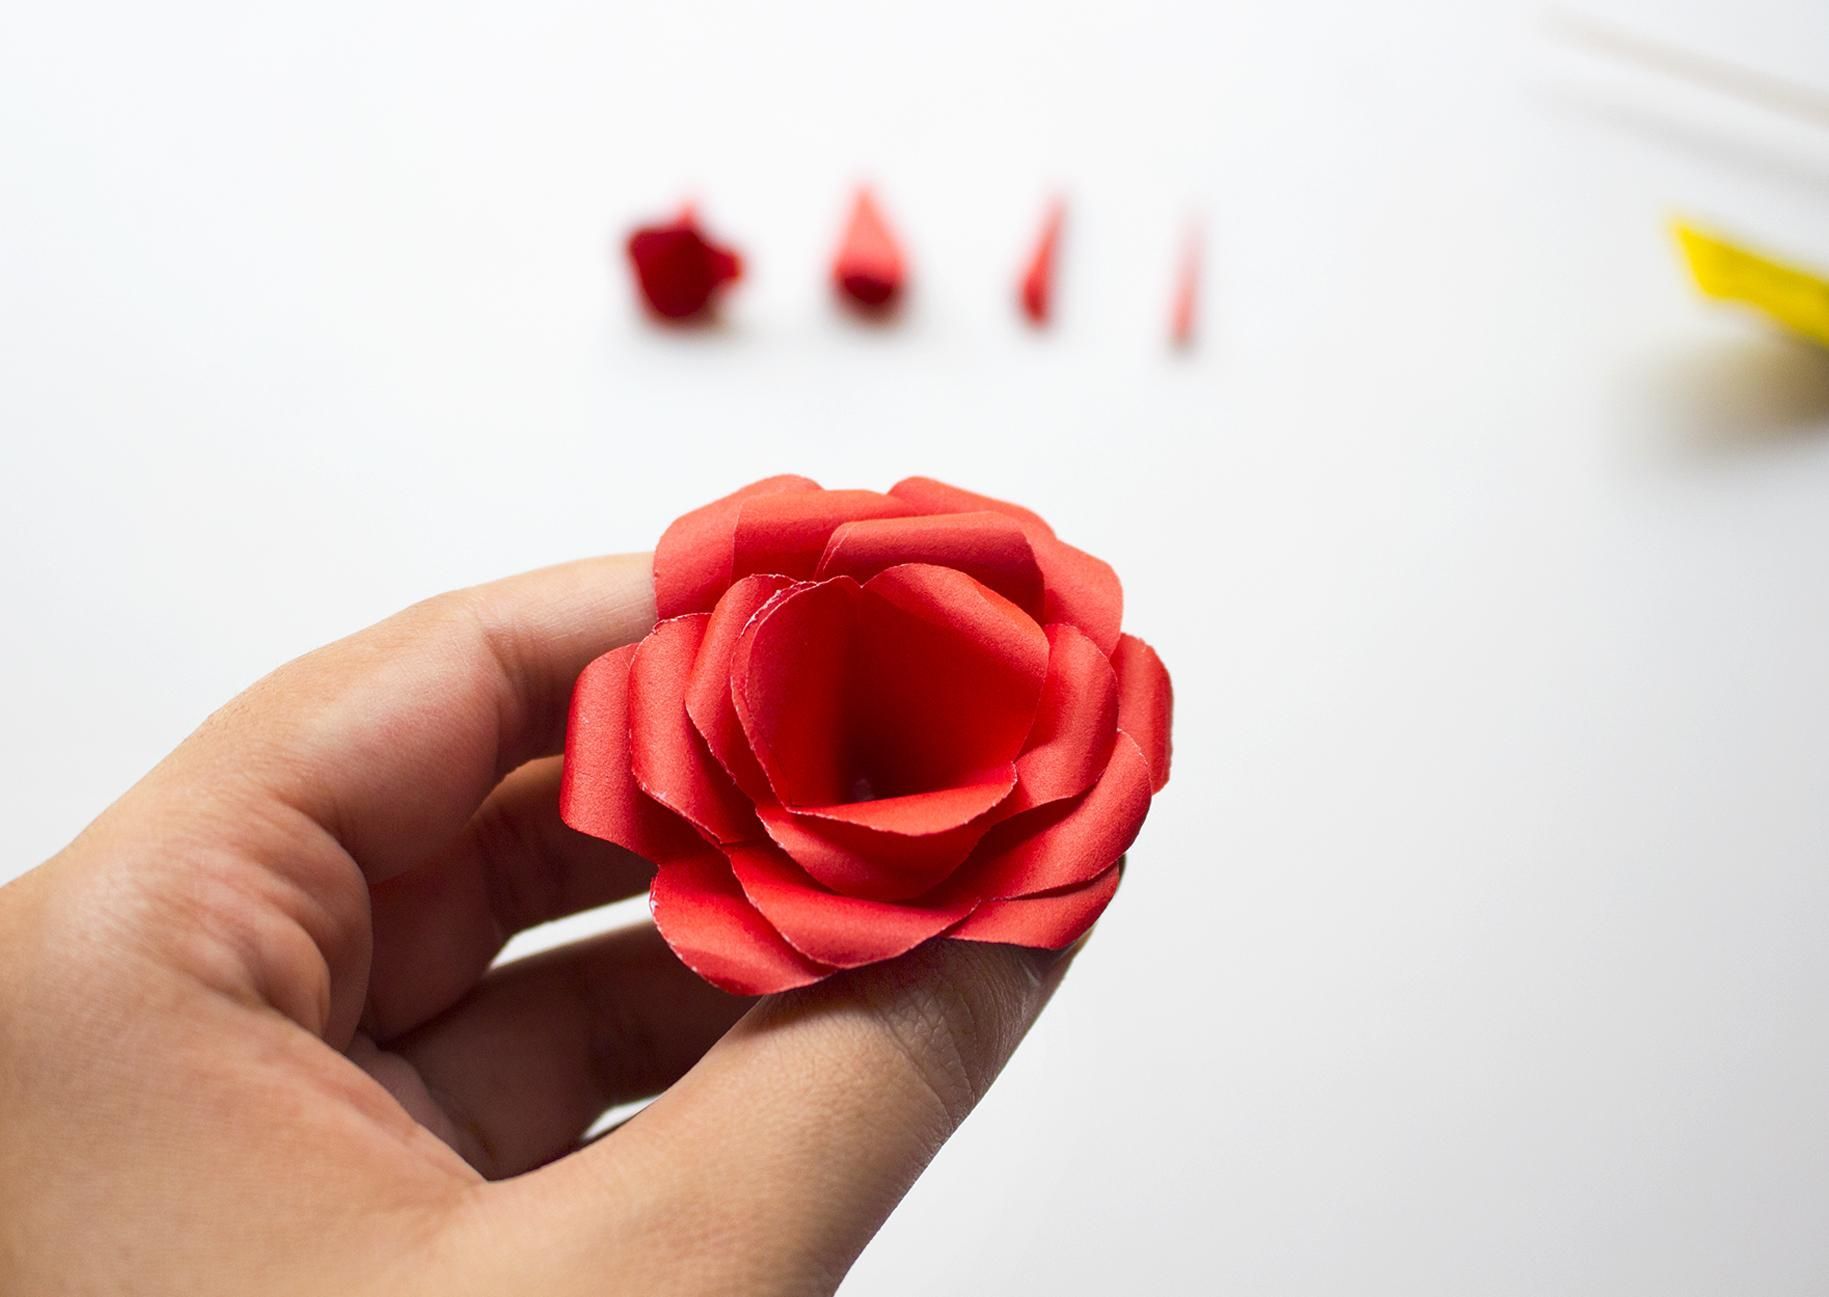
Now it’s time for the smallest petals to be glued in the center of the rose flower.

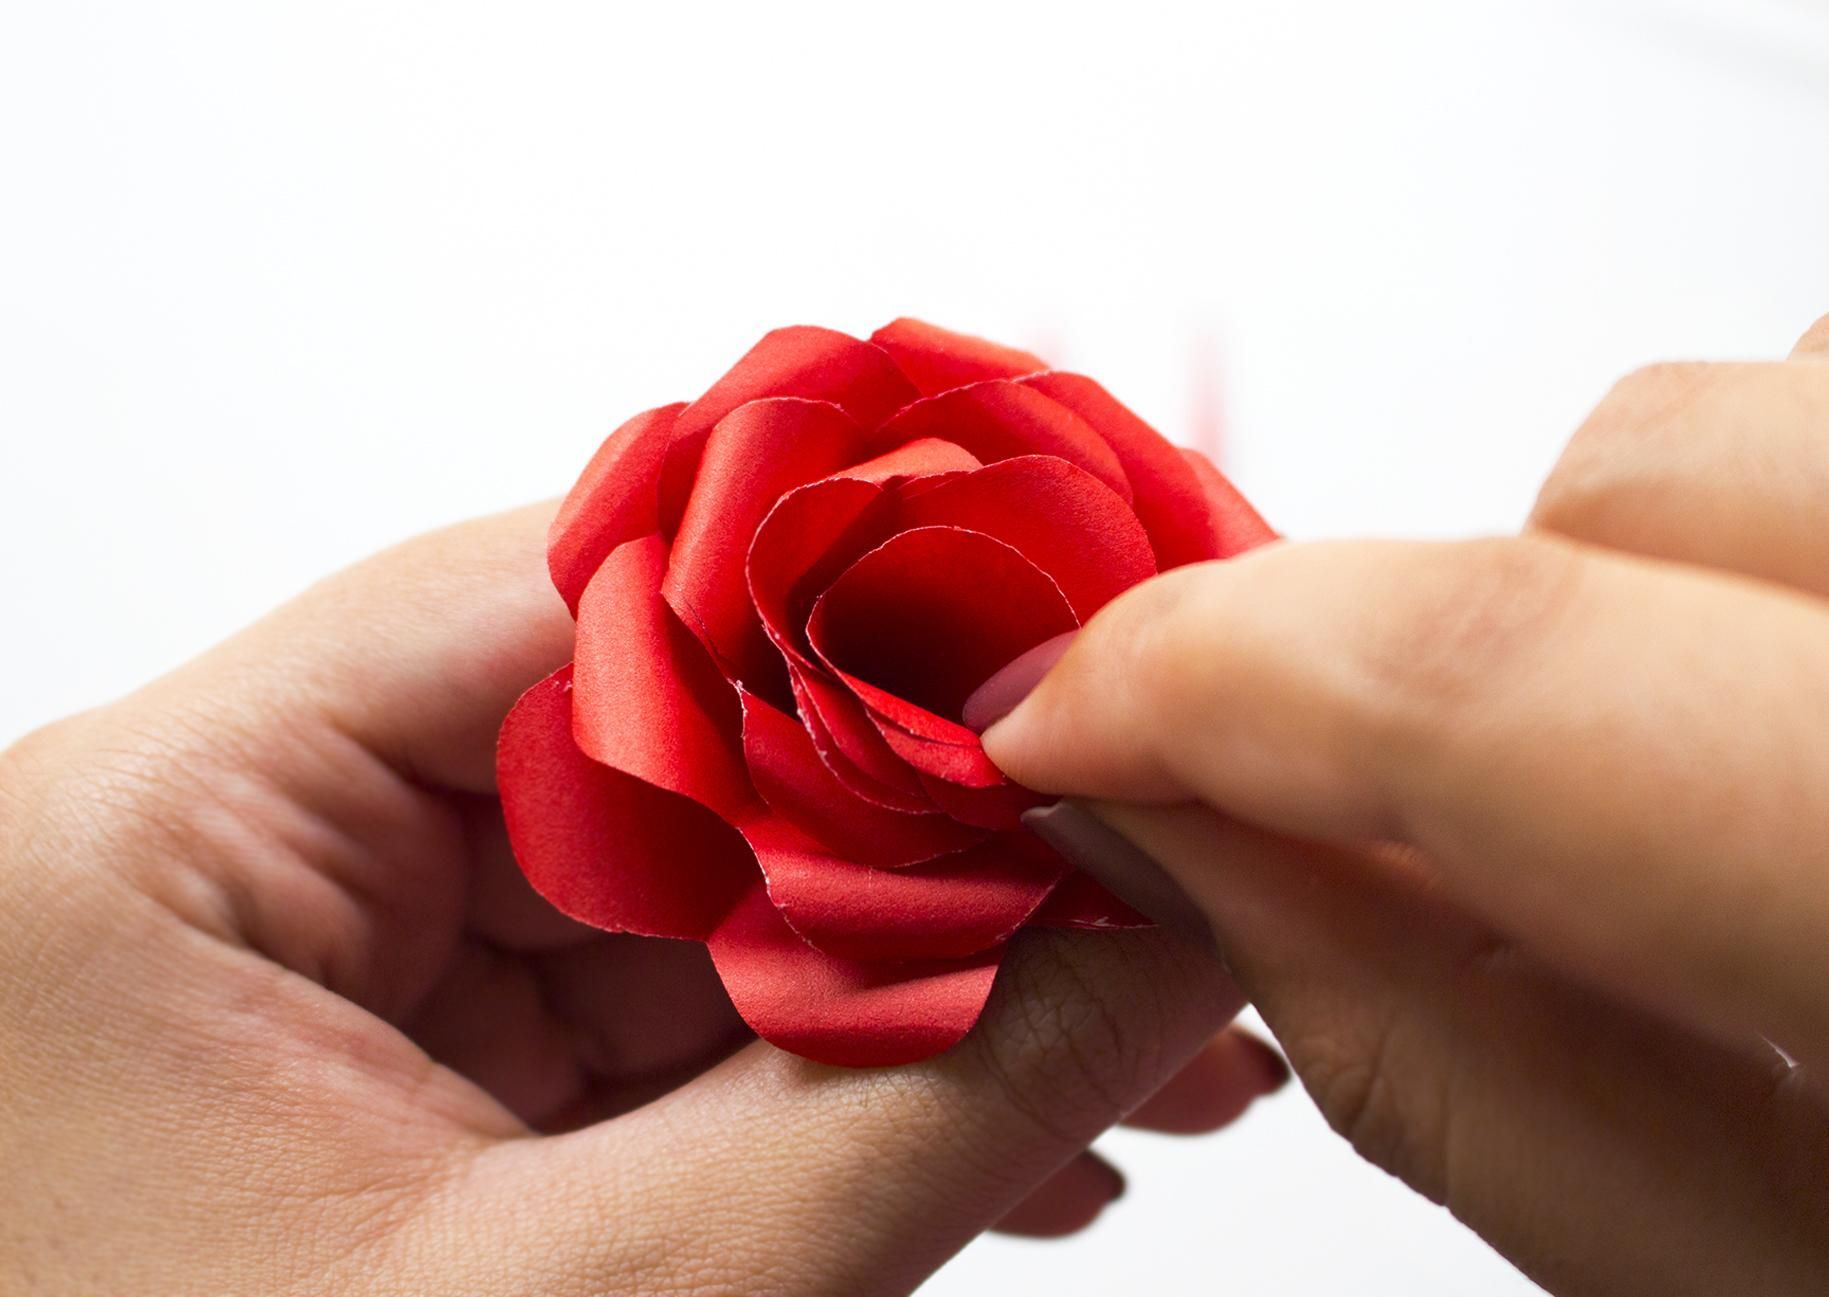
Congratulations! You've created an elegant paper rose flower.
And your beautiful paper roses are ready! Now, you have a couple of choices to display them: either make a bouquet with multiple roses or make a single rose by attaching it to a floral wire and adding some green paper leaves.
These paper roses can be a lovely handmade gift for someone special, or you can use them to decorate your room. You can even make them in different colors and patterns to suit your style! This craft is easy and enjoyable, and there are countless ways to get creative with it.
I hope you enjoyed this simple step-by-step tutorial for DIY paper roses. Do make them and impress your family and friends! For more fun tutorials and DIY projects check out our library.
Check out the Crafting Spree blog for more DIY, Crafting & Cricut Resources:


Share this article with your friends & family.